 Save to Pinterest
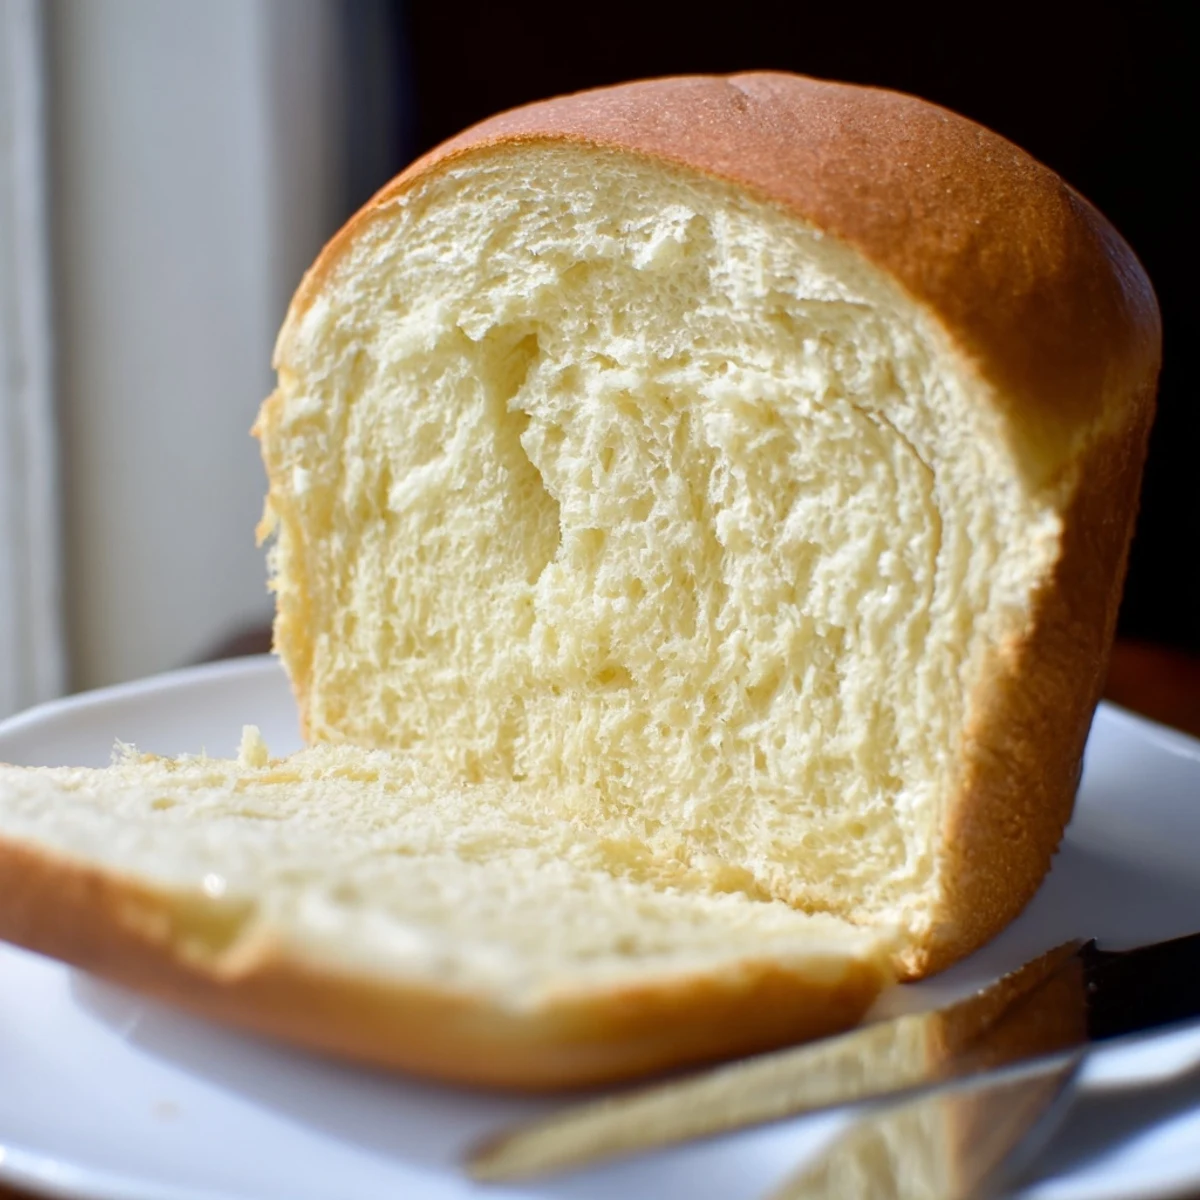
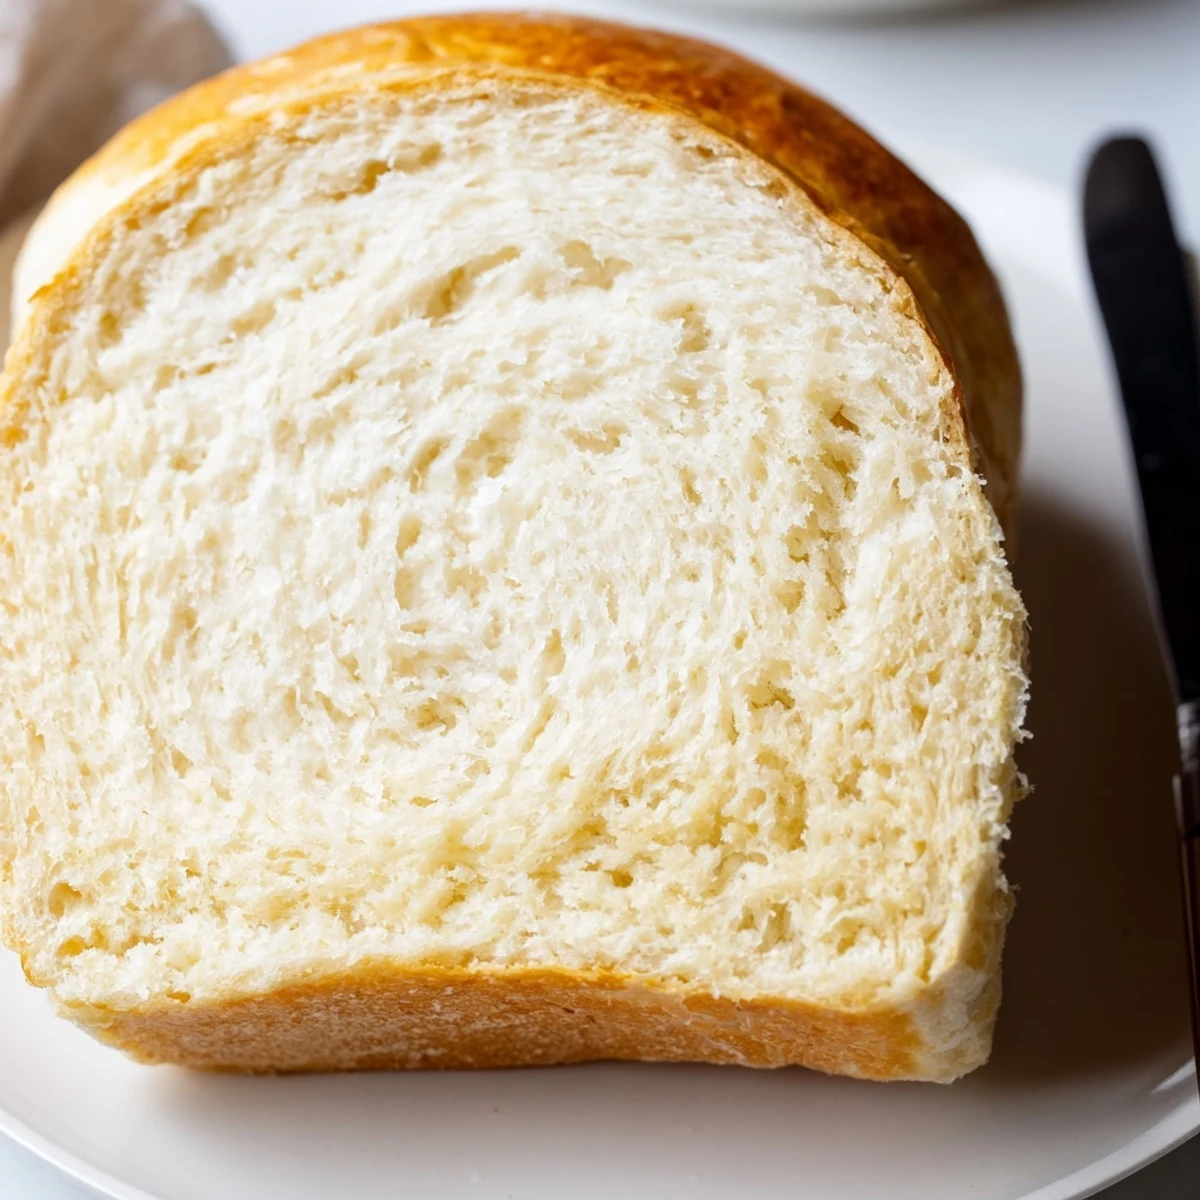
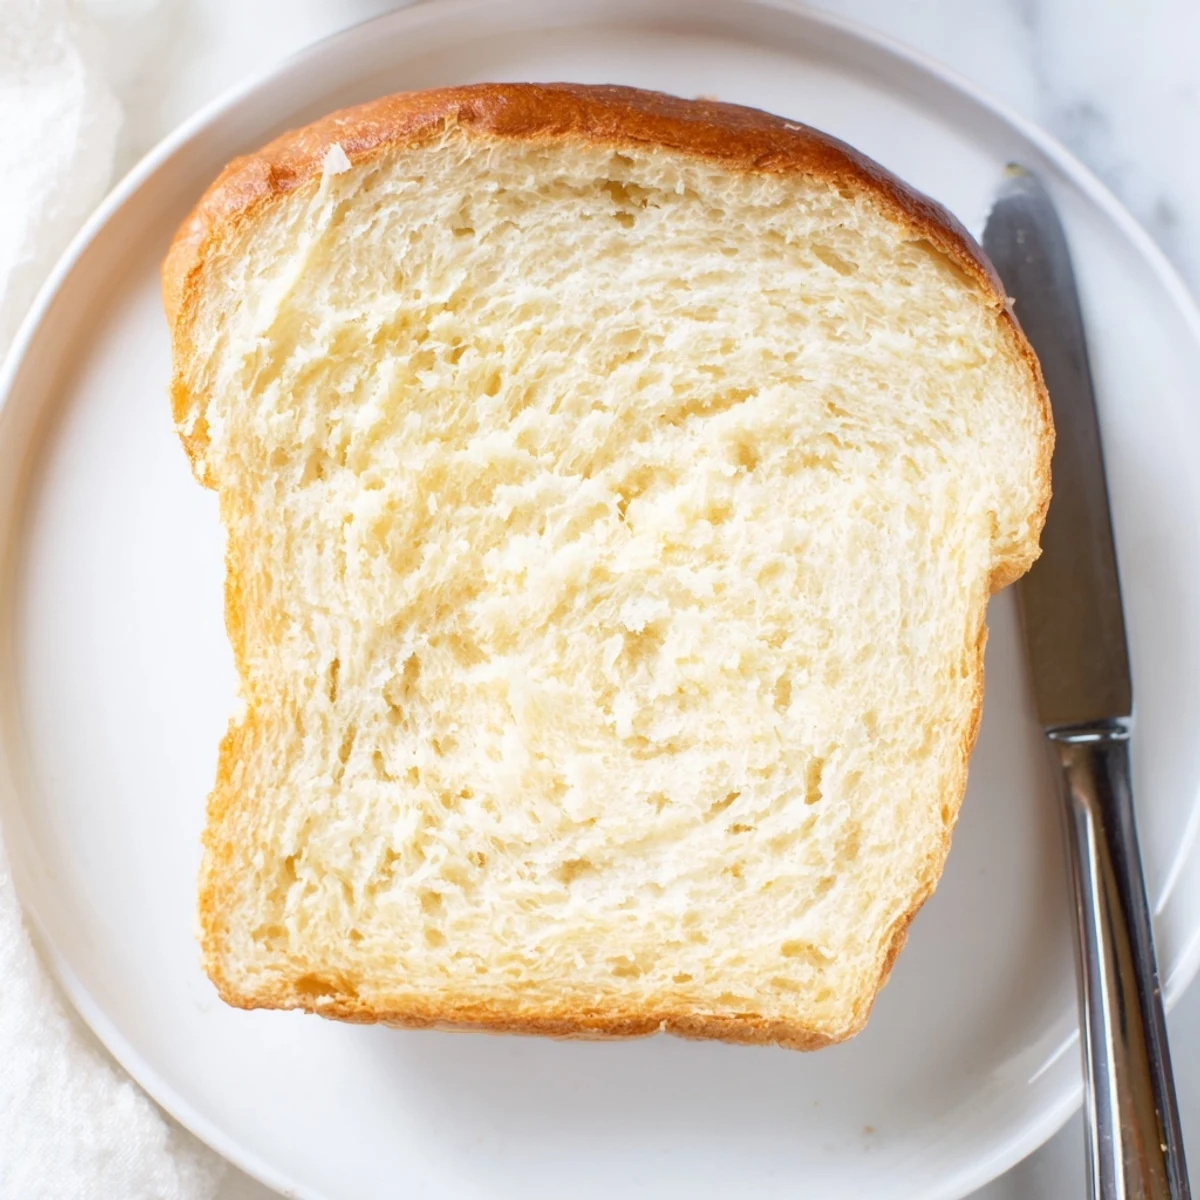
 This beloved Amish classic delivers incredibly soft, fluffy white bread with just a touch of sweetness. The simple dough comes together with basic pantry staples—flour, yeast, sugar, oil, salt, and warm water. After mixing and kneading, the dough rises until doubled, then bakes into two beautifully golden loaves with a tender crumb and subtle sweetness that makes them exceptional for sandwiches or morning toast.
The process rewards patience with bakery-style results. A light butter brushing after baking creates an irresistibly soft crust, while the dough's versatility allows for easy variations like honey-sweetened versions. Each loaf yields approximately eight generous slices, storing well at room temperature for several days or freezing beautifully for future enjoyment.
My grandmother always said you could tell a bread was worth making by how quickly it disappeared from the counter. This Amish white bread has that particular magnetic quality, the kind that pulls family members into the kitchen before the loaf has even fully cooled.
I first learned about this bread from a neighbor who grew up in an Amish community in Ohio. She told me the secret was patience during the rising time and never rushing the kneading process.
Ingredients
- 5 ½ to 6 cups all-purpose flour: The exact amount depends on humidity, so trust your hands and add gradually until the dough feels right
- 2 ¼ teaspoons active dry yeast: One standard packet works perfectly, but make sure its not expired for the best rise
- 2 teaspoons salt: Essential for flavor balance and helps strengthen the gluten structure
- 2 cups warm water: Temperature matters too cold and yeast wont activate, too hot and youll kill it
- ⅓ cup granulated sugar: Feeds the yeast and adds that subtle sweetness that makes this bread uniquely Amish
- ¼ cup vegetable oil: Keeps the bread tender and gives it a softer crumb than butter alone would provide
Instructions
- Wake up the yeast:
- Dissolve the sugar in warm water first, then sprinkle yeast on top and watch it bloom into tiny bubbles
- Build the foundation:
- Stir in the oil and salt, then gradually add flour while mixing until everything starts coming together
- Find your dough:
- Add more flour a quarter cup at a time until the dough pulls cleanly away from the bowl sides
- Knead with purpose:
- Turn onto a floured surface and work the dough for 6 to 8 minutes until it feels smooth and elastic under your palms
- First rise:
- Place in a greased bowl, cover with a towel, and let it rest in a warm spot until doubled in size
- Shape the loaves:
- Punch down gently, divide in half, and form each piece into a loaf for your prepared pans
- Second rise:
- Cover again and let the dough rise until it creeps about an inch above the pan rims
- Bake to golden:
- Slide into a 350°F oven and bake for 30 to 35 minutes until deeply golden and the loaves sound hollow when tapped
- Cool completely:
- Let the bread rest on a wire rack before slicing, otherwise the steam will escape too quickly and dry out the crumb
 Save to Pinterest
 My kids started requesting this bread for their school lunches after I made it once on a rainy Sunday. Now it is the only bread they will eat for sandwiches.
Getting the Rise Right
A warm, draft free spot is essential for proper rising. I turn my oven light on and place the bowl inside the turned off oven, which creates the perfect cozy environment for yeast to work its magic.
Kneading Technique
Push the dough away with the heel of your hand, fold it back over, and give it a quarter turn. The rhythm becomes meditative, and you will feel the texture transform from shaggy to satiny.
Storage and Freshness
This bread keeps beautifully at room temperature for three days wrapped in plastic or stored in a bread box. Beyond that, slice and freeze it, then toast individual slices straight from the freezer.
- Brush the warm crust with butter immediately after baking for an extra soft exterior
- Try swapping honey for half the sugar if you want a deeper, more complex sweetness
- Let the loaf cool completely before slicing to prevent the inside from getting squished
 Save to Pinterest
 There is something deeply satisfying about making your own bread, especially one with such a beautiful history and reliable results. Happy baking, and enjoy the smell of fresh bread filling your home.
Common Questions
- → What makes Amish white bread different from regular white bread?
-
Amish white bread features a slightly sweeter profile and exceptionally tender crumb compared to standard white bread. The combination of sugar and oil creates a softer texture, while the traditional rising method develops distinctively fluffy loaves that stay fresh longer than typical commercial varieties.
- → Can I use whole wheat flour instead of all-purpose?
-
Whole wheat flour creates denser loaves with a heartier flavor and darker color. For best results, substitute half the all-purpose flour with whole wheat. Adding slightly more liquid helps compensate for whole wheat's absorbency. The texture will be more rustic but still enjoyable.
- → How do I know when the dough is properly kneaded?
-
Properly kneaded dough becomes smooth, elastic, and slightly tacky without sticking excessively. When gently pressed with a finger, it should bounce back. The windowpane test—stretching a small piece until thin enough to see light through—indicates well-developed gluten structure ready for rising.
- → Why did my bread not rise properly?
-
Several factors affect rising: water temperature that's too hot kills yeast, while cold water slows activation. Expired yeast also prevents proper rising. Ensure your warm space stays between 75-85°F for optimal proofing. Dough also needs sufficient kneading time to develop gluten structure that traps yeast bubbles during rising.
- → Can I freeze the dough instead of baking immediately?
-
Freeze dough after the first rise, just before shaping. Wrap tightly in plastic and freeze for up to three weeks. Thaw overnight in the refrigerator, then bring to room temperature, shape into loaves, and complete the final rising before baking. This method works excellently for fresh bread anytime.
- → What's the purpose of brushing with butter after baking?
-
Brushing warm loaves with melted butter creates a softer, more tender crust by adding moisture and richness. The butter penetrates slightly, preventing the crust from becoming hard or crispy. For a glossy finish without added richness, an egg wash before baking achieves similar visual results.