 Save to Pinterest
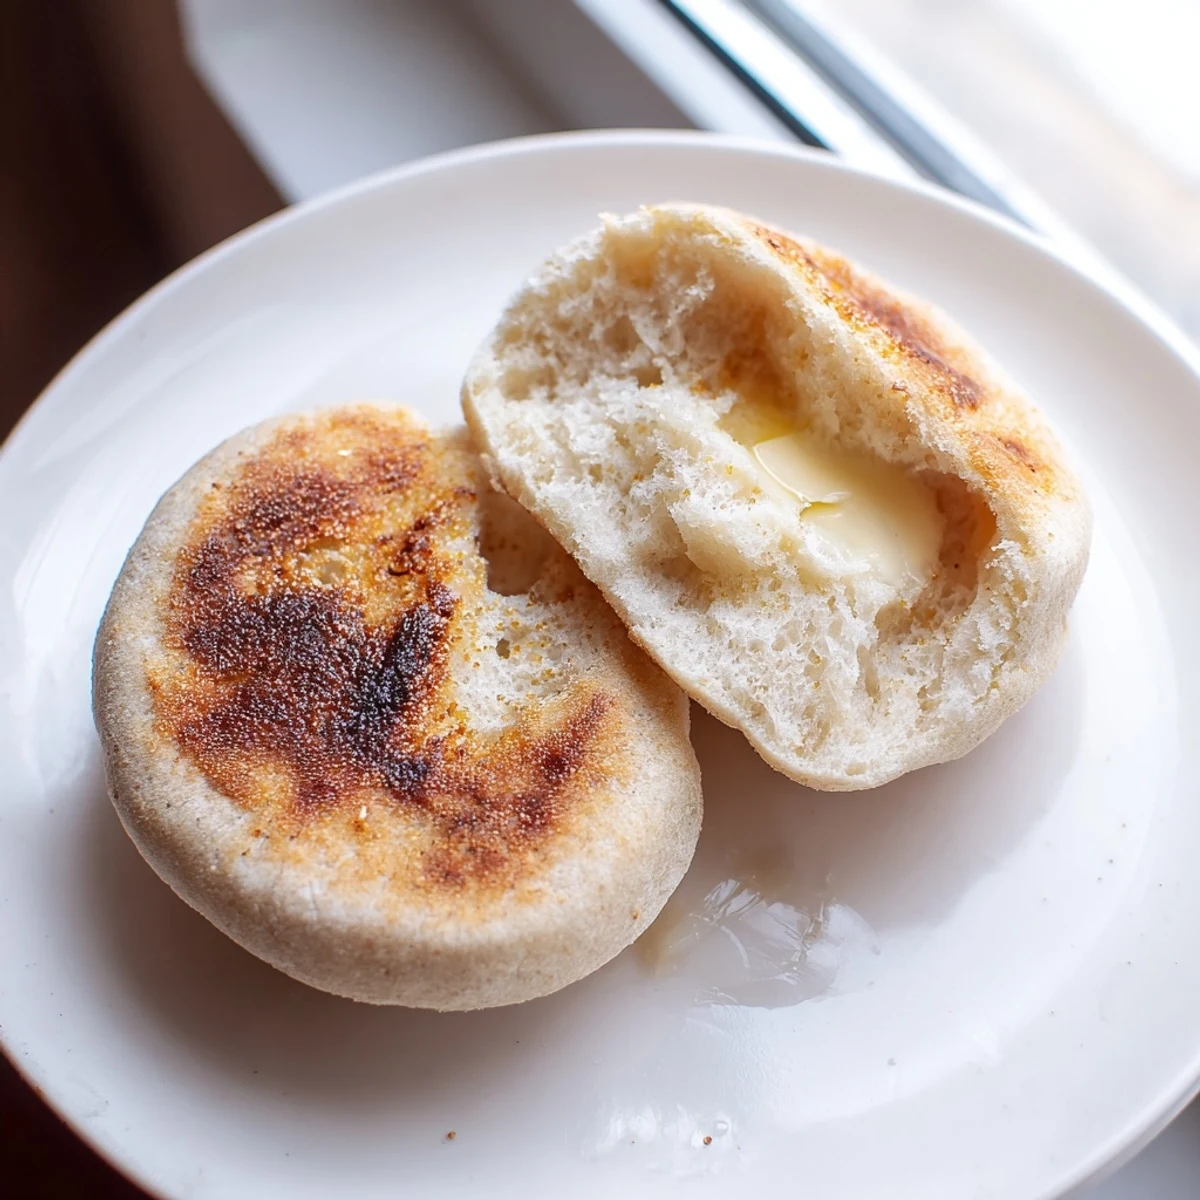
 These classic English muffins deliver the perfect balance of soft, airy interiors and golden-brown exteriors. The dough requires simple pantry staples and a bit of patience for rising, but the result rivals any bakery. The key is kneading until smooth and achieving that signature cornmeal-dusted exterior that crisps beautifully when toasted. Split with a fork to preserve those beloved craggy pockets that catch melted butter and jam. Perfect for weekend breakfasts or afternoon tea, and they freeze beautifully for busy mornings.
The smell of yeasting milk always takes me back to my first apartment, where I made English muffins on a Sunday morning just because I wanted to prove I could. The kitchen was tiny, the counter wobbled, and I had no idea what I was doing. But pulling those golden rounds off the griddle, splitting them open with a fork, watching the steam curl up into buttery nooks and crannies, I felt like I'd unlocked some secret. Store-bought never quite measured up after that.
I made these for a brunch gathering last spring, and my friend Sarah took one bite and immediately asked for the recipe. She had been buying the same brand for twenty years. We stood around the kitchen island, splitting muffins and discussing how something so simple could feel so luxurious. Now she texts me photos every time she makes a batch, usually with the caption, look at these craters.
Ingredients
- Bread flour: The higher protein content gives these muffins their characteristic chew and structure
- Whole milk: Adds richness and helps create that tender, pillowy interior we are after
- Active dry yeast: Needs to bloom properly in warm liquid, so do not rush this step
- Granulated sugar: Just enough to feed the yeast and add a hint of sweetness
- Fine sea salt: Enhances flavor without overwhelming the delicate balance
- Unsalted butter: Melted and worked into the dough for that unmistakable buttery aroma
- Cornmeal or semolina: This dusting creates the classic crunchy exterior and prevents sticking
Instructions
- Wake up the yeast:
- Dissolve the yeast and sugar in lukewarm milk, letting it sit until you see a foamy layer on top. If it does not bubble, your yeast might be too old or the milk was too hot.
- Build the dough:
- Combine flour and salt in a large bowl, create a well in the center, and pour in the yeast mixture with melted butter. Mix until everything comes together in a rough, shaggy mass.
- Knead until smooth:
- Turn the dough onto a floured surface and work it for 8 to 10 minutes until it feels silky and springs back when you press it. A mixer with a dough hook speeds this up but hands connect you to the process.
- Let it rise:
- Place the dough in an oiled bowl, cover it with a towel, and find a warm corner for it to double in size. This usually takes 1 to 1.5 hours, but temperature affects timing more than clocks do.
- Roll and cut:
- Punch down the risen dough, roll it to about three-quarter inch thickness, and cut rounds with a 3-inch cutter. Reroll the scraps gently, avoiding overworking them, to get about 8 muffins.
- Proof again:
- Dust a baking sheet with cornmeal, arrange the muffins with space between them, sprinkle more cornmeal on top, and let them rest for 25 to 30 minutes until they look puffy and relaxed.
- Cook them through:
- Heat a skillet or griddle over medium-low, grease lightly, and cook each muffin 7 to 9 minutes per side. The goal is deep golden color without burning, so adjust heat as needed.
 Save to Pinterest
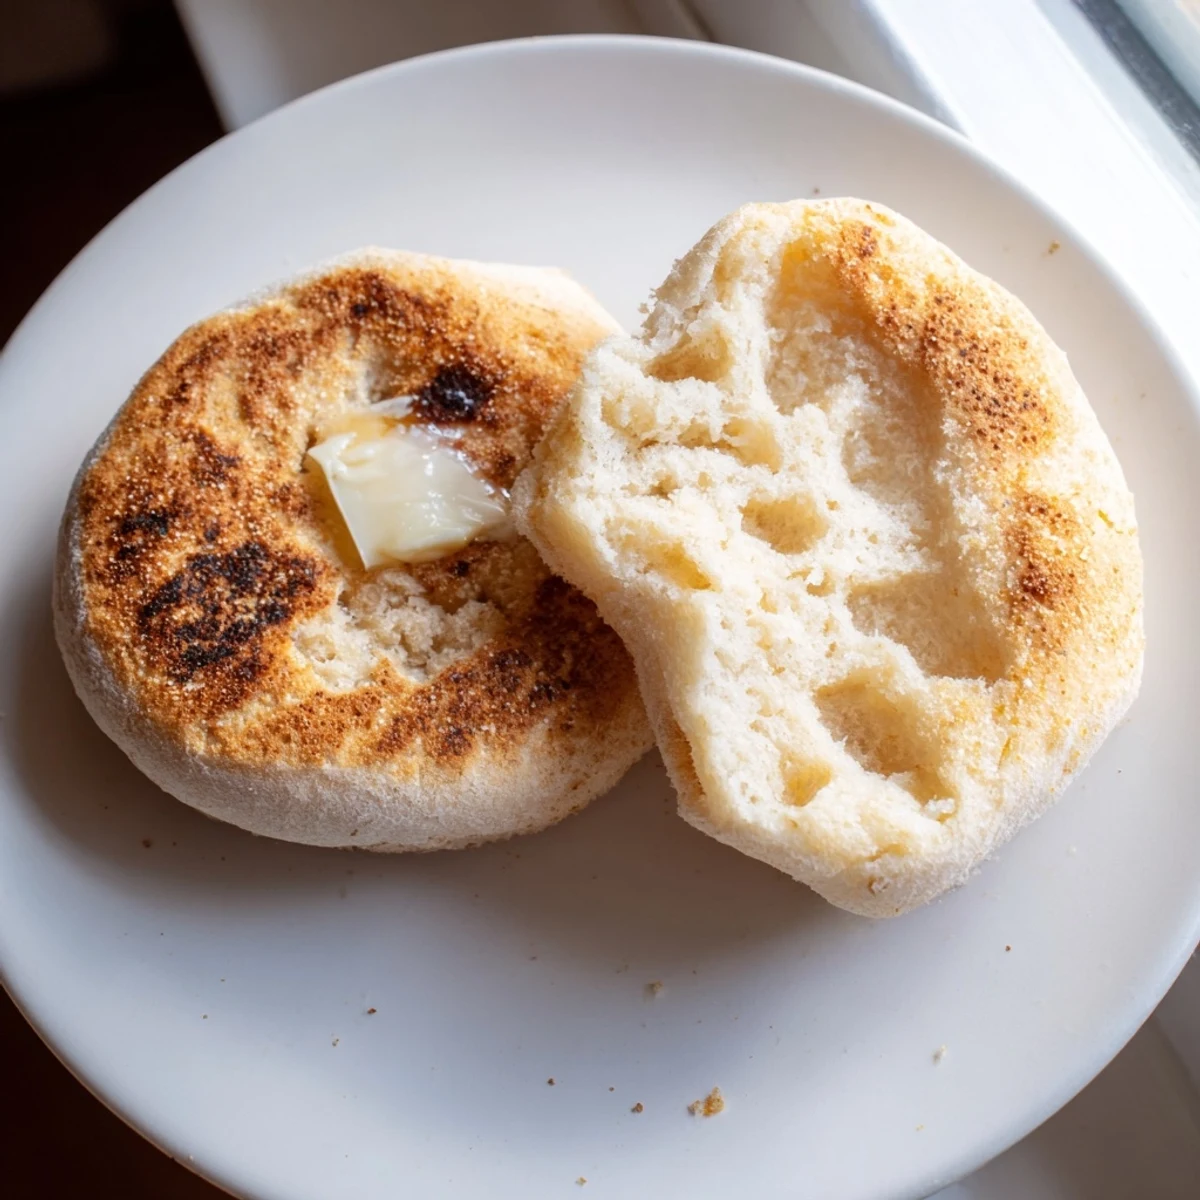
 There is something deeply satisfying about sliding that fork into a freshly cooked muffin and hearing the crisp give way to steam. My daughter now insists on being the designated splitter, wielding her fork like a tiny chef. Those little rituals around food, they stick with you longer than the recipes themselves.
Getting The Texture Right
The difference between a good English muffin and a great one comes down to hydration and patience. Too little flour makes them flop, too much makes them tough. Trust your hands during kneading, that smooth elastic quality is what you are chasing. And do not short the proofing time, those air pockets need room to develop.
Cooking Temperature Matters
I learned the hard way that medium-high heat burns the outside before the inside cooks through. Start with medium-low and give them time. You want the heat to penetrate gradually, creating that tender crumb while developing a golden crust. If they are browning too fast, slide the skillet to a cooler burner.
Storage And Freezing Tips
Fresh ones are unbeatable, but they freeze beautifully for busy mornings. Cool completely first, then stack them in freezer bags with parchment between layers. To refresh, thaw and pop them in the toaster until warmed through and slightly crisped. They keep at room temperature for about three days if stored in an airtight container.
- Make a double batch and freeze half for effortless breakfasts later
- Try adding raisins or cinnamon to the dough for sweet versions
- A bit of sourdough starter adds tang and keeps them fresh longer
 Save to Pinterest
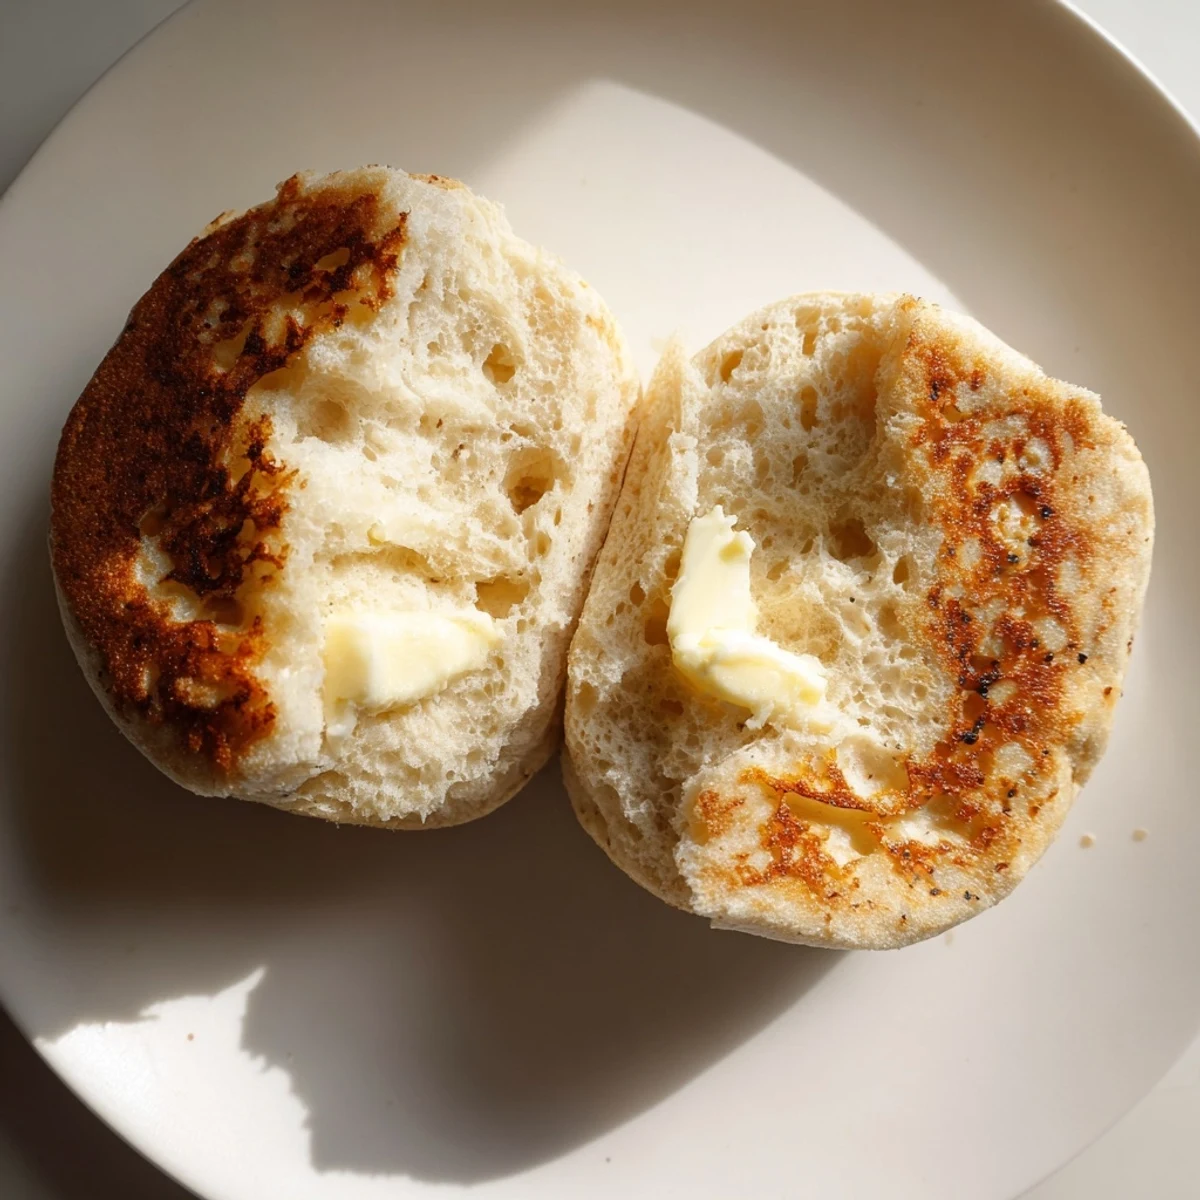
 Warm with salted butter melting into every crevice, these muffins turn an ordinary morning into something worth savoring. Sometimes the simplest recipes are the ones that stay with you longest.
Common Questions
- → What makes English muffins different from regular bread?
-
English muffins are cooked on a griddle rather than baked, creating a dense but airy texture with signature nooks and crannies. The dough is wetter than standard bread dough, and the cornmeal coating adds a distinctive crunch and prevents sticking during cooking.
- → Why should I split English muffins with a fork?
-
Using a fork to split muffins preserves the characteristic nooks and crannies that make them perfect for holding butter, jam, or toppings. Slicing with a knife compresses these pockets, while fork splitting creates rough surfaces that toast beautifully.
- → Can I make these muffins without a griddle?
-
A large skillet or heavy-bottomed frying pan works perfectly for cooking English muffins. The key is maintaining even low-medium heat to ensure the centers cook through before the exteriors burn. Cast iron retains heat beautifully for consistent results.
- → How do I know when the muffins are cooked through?
-
The muffins should be deeply golden on both sides and sound hollow when tapped. For precision, an instant-read thermometer inserted into the center should read 200°F (93°C). If they brown too quickly, reduce the heat and cook longer.
- → Can I add mix-ins like cheese or herbs?
-
Absolutely. Fold in shredded cheddar, herbs like rosemary or thyme, or even diced jalapeños during the final minute of kneading. For sweet variations, try cinnamon, dried fruit, or orange zest. Adjust flour slightly if adding wet ingredients.
- → How should I store homemade English muffins?
-
Keep at room temperature in an airtight container for up to 3 days. For longer storage, freeze individually wrapped muffins for up to 2 months. Thaw overnight and toast before serving for the best texture and flavor.