Save to Pinterest
 This lemon curd yields about 2 cups of silky, tangy spread from lemon zest and juice, granulated sugar, eggs, and butter. Whisk eggs and sugar, stir in citrus, then cook gently over a simmering water bath while whisking until the mixture thickly coats a spoon. Strain to remove zest and any cooked bits, cool to room temperature, then jar and refrigerate. Try extra zest for more intensity or swap citrus and butter alternatives for dietary needs.
The sound of a spoon scraping against a jar, that soft clink of glass when something golden and velvety is being scooped up, is one of the most satisfying noises in my kitchen. Lemon curd became my unexpected obsession during a rainy April when I had a bag of lemons and nowhere to be. I wasnt trying to make anything fancy, just needed to use up fruit before it went soft, and what happened next changed the way I think about breakfast forever.
My neighbor Sarah knocked on my door the afternoon I made my second batch, holding a plate of fresh scones and asking if I had anything to put on them. I handed her a warm jar and we stood in the hallway eating straight from the container with butter knives, not even bothering with plates.
Ingredients
- 3 large lemons (zest and juice, about 1/2 cup juice): Use the most fragrant lemons you can find because their essential oils in the zest carry all the perfume.
- 1 cup (200 g) granulated sugar: Regular white sugar lets the lemon shine without competing flavors.
- 2 large eggs plus 2 large egg yolks: The extra yolks are what give curd its luxurious richness and that gorgeous buttercup color.
- 1/2 cup (115 g) unsalted butter, cut into cubes: Cold cubed butter melts gradually into the mixture, creating a smooth emulsion without greasiness.
Instructions
- Zest and juice those lemons:
- Run your microplane over each lemon with gentle pressure, stopping before you hit the bitter white pith, then squeeze every last drop of juice into a measuring cup until you hit the half cup mark.
- Whisk the base together:
- In a medium heatproof bowl, combine the sugar, whole eggs, and extra yolks, whisking until the mixture turns pale and completely smooth with no stray streaks of yolk visible.
- Add the lemon:
- Pour in the juice and drop in all that fragrant zest, stirring until everything is beautifully combined and the kitchen already smells incredible.
- Set up your double boiler:
- Place the bowl over a saucepan filled with an inch or two of gently simmering water, making absolutely sure the bottom of the bowl hovers above the water and never touches it.
- Cook and whisk patiently:
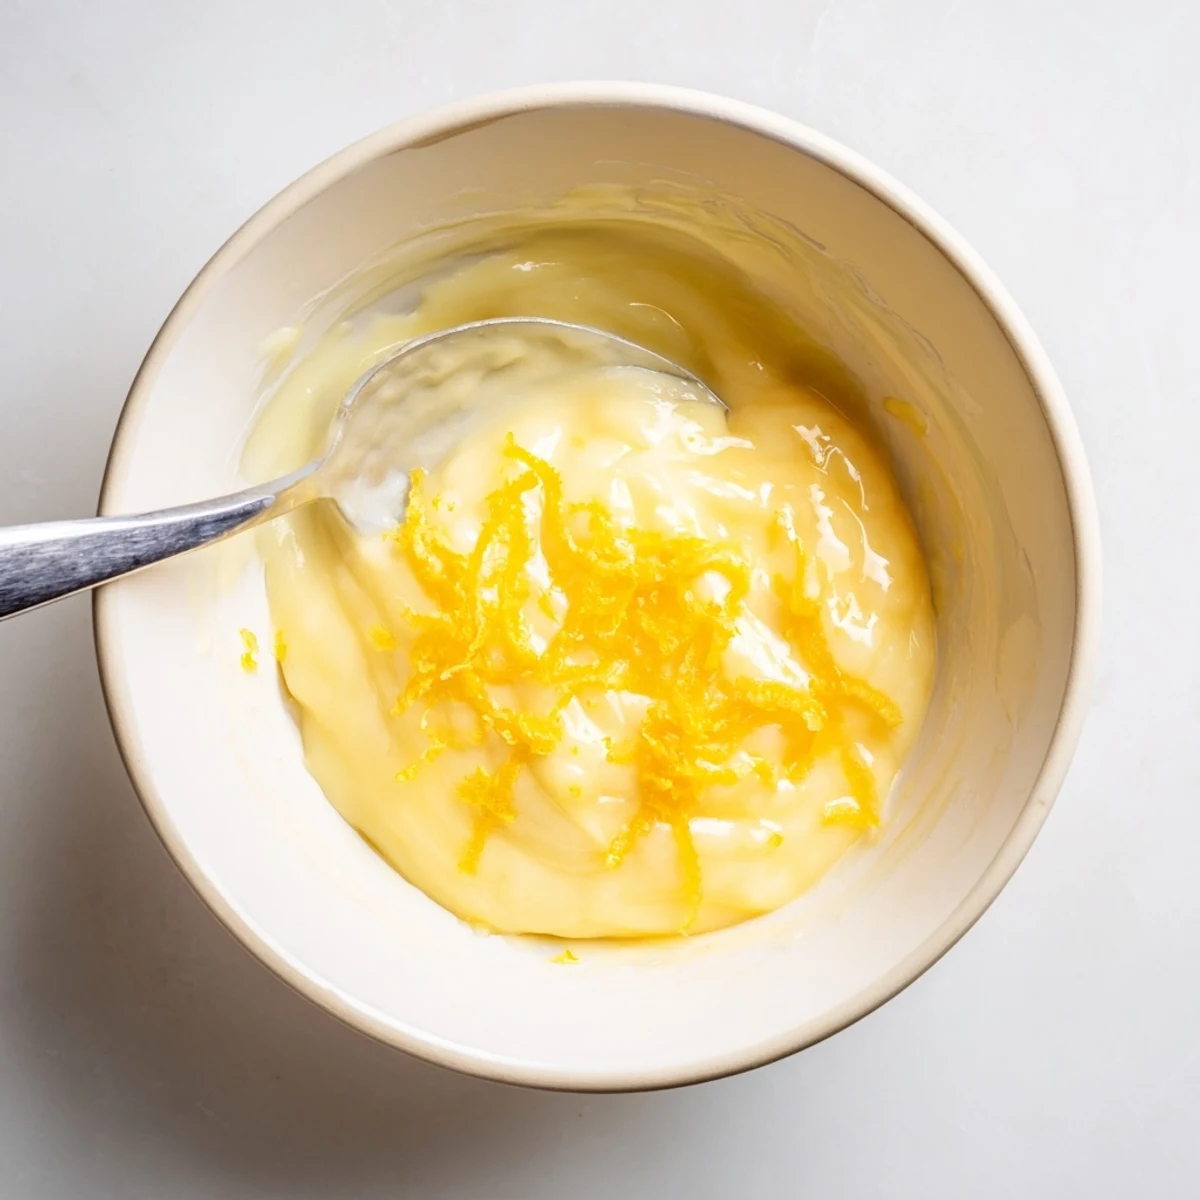
- Toss in the butter cubes and whisk constantly for seven to ten minutes, feeling the mixture transform from liquid to something thick, glossy, and coat the back of a spoon like warm honey.
- Strain and cool:
- Remove the bowl from heat and pour everything through a fine mesh sieve into a clean container, pressing gently to extract every bit of golden curd while catching the zest and any tiny cooked egg bits.
- Jar it up:
- Let the curd cool to room temperature, then spoon it into sterilized jars and tuck them into the refrigerator where it will thicken further and keep beautifully for up to two weeks.
 Save to Pinterest
 I started giving jars away as gifts and people began requesting it for birthdays and holidays over anything else I could bake.
Flavor Variations Worth Trying
Swap the lemons for limes and you have something that tastes like sunshine in a key lime pie, or use blood oranges in winter for a rosy curd that looks stunning spooned over Greek yogurt.
My Favorite Ways to Use Leftover Curd
Swirl it into overnight oats, spread it between layers of sponge cake, or simply eat it off a spoon standing in front of the open refrigerator at midnight.
What to Know Before You Start
Gather every tool and ingredient before you begin because once the whisking starts you cannot step away from the stove. Having everything ready turns this into a calm, almost meditative twenty minutes rather than a frantic scramble. This is one of those recipes where mise en place truly matters.
- A microplane makes quick work of zesting and catches only the fragrant outer layer.
- Use a rubber spatula to scrape every last drop from the sieve because that golden curd is precious.
- Let the curd cool completely before lidding the jars to prevent condensation from forming on top.
 Save to Pinterest
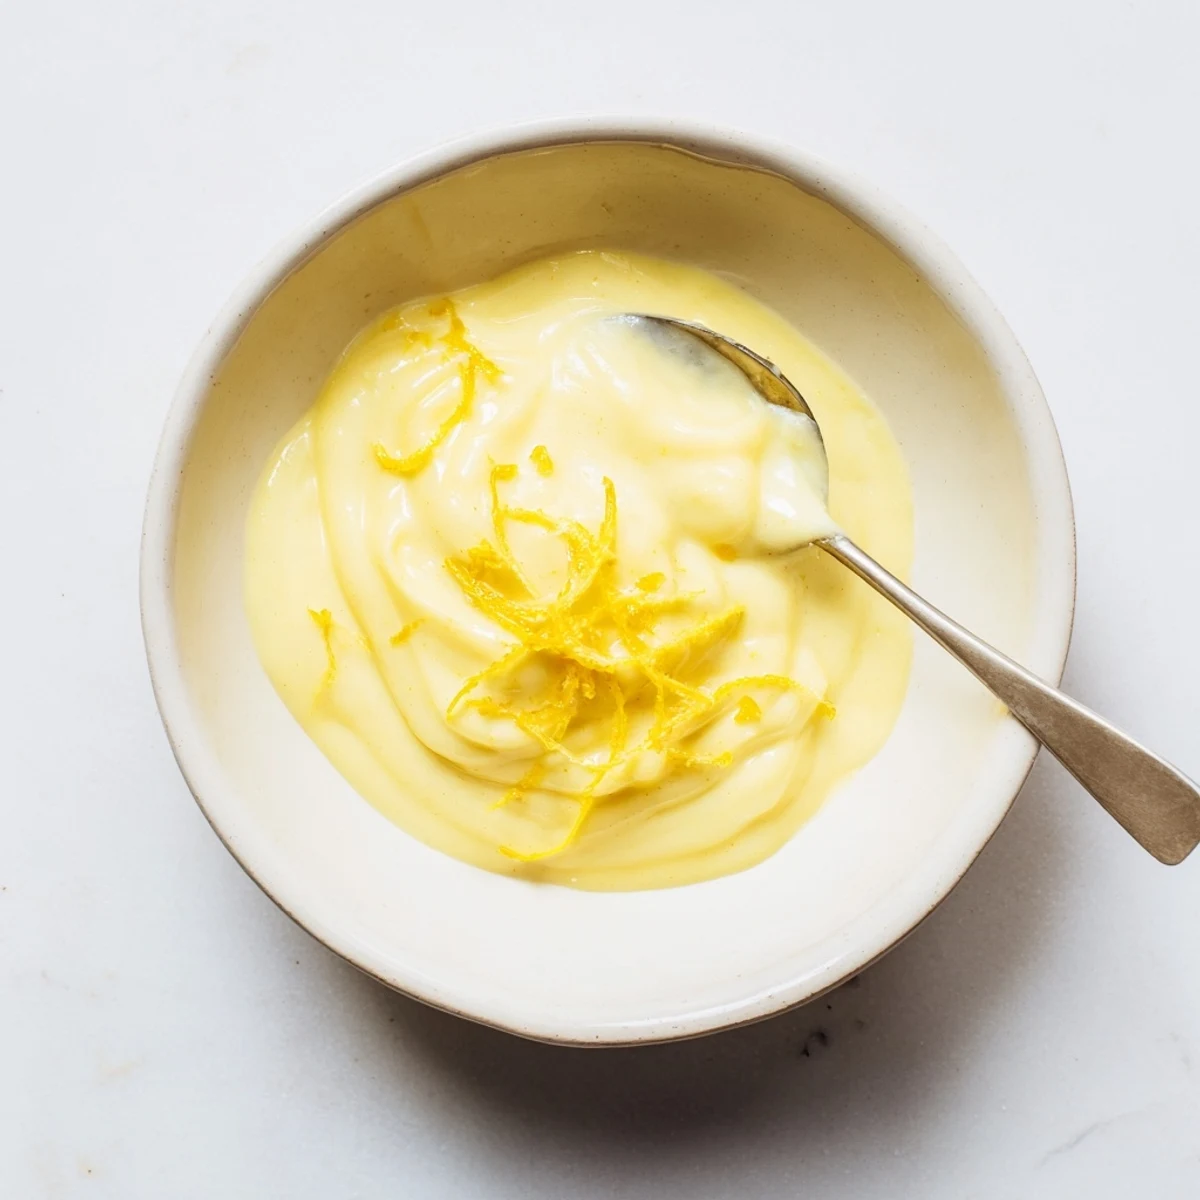
 Once you have a jar of homemade lemon curd in your refrigerator, everything from plain toast to a bowl of vanilla ice cream becomes a little celebration. It is the simplest way I know to make an ordinary moment feel special.
Common Questions
- → How can I tell when the curd is done?
-
It’s ready when it thickly coats the back of a spoon and a gentle line drawn with your finger holds. The texture should be smooth and glossy after cooling; it will set a bit more as it chills.
- → How long does lemon curd keep refrigerated?
-
Properly cooled and stored in sterilized jars, the curd will keep in the refrigerator for up to two weeks. Use a clean spoon each time to avoid contamination.
- → What prevents the eggs from curdling during cooking?
-
Cook over a gentle simmer in a double boiler and whisk constantly to distribute heat. Avoid boiling; if the mixture overheats, remove from heat briefly and continue stirring off direct heat.
- → Can I make a dairy-free version?
-
Yes. Replace the butter with refined coconut oil or a plant-based margarine; the texture will be slightly different but still creamy and spreadable once chilled.
- → Should I strain the curd?
-
Yes—straining through a fine-mesh sieve removes zest fragments and any tiny cooked egg bits for an ultra-smooth finish, especially important if you plan to use it as a cake filling or silky spread.
- → Can I use other citrus fruits?
-
Absolutely. Lime or orange yield different flavor profiles; adjust zest and juice amounts to taste. Grapefruit can be used for a more bitter, complex note.