 Save to Pinterest
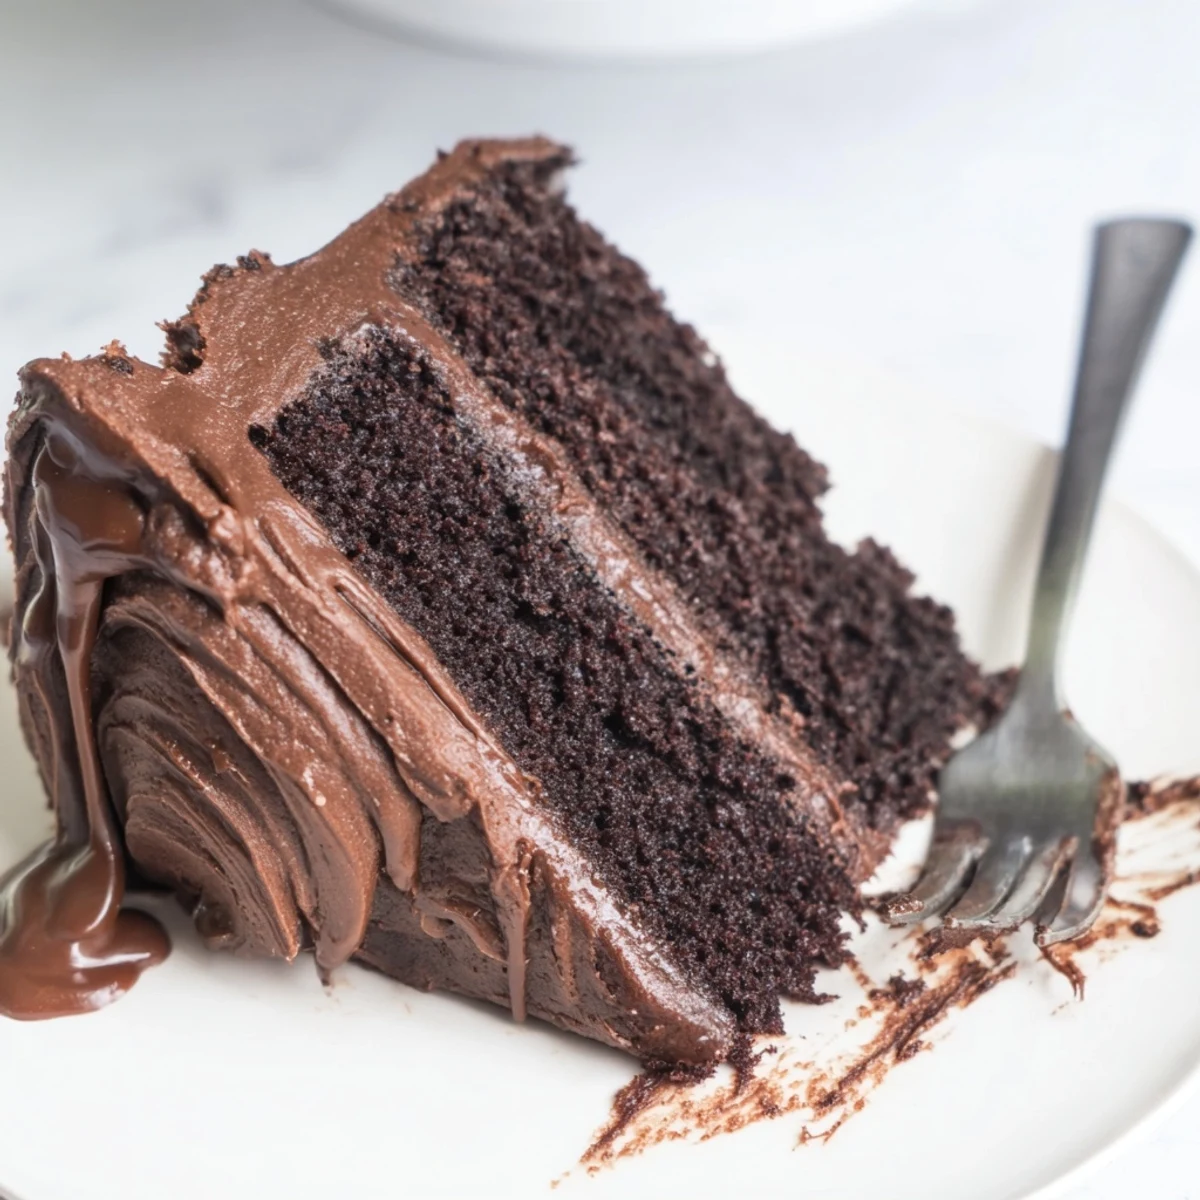
 This indulgent chocolate cake features an incredibly moist crumb thanks to the addition of boiling water in the batter. The two-layer creation comes together in just one hour, making it perfect for last-minute celebrations or weekend baking projects.
The decadent chocolate frosting combines butter, cocoa powder, and vanilla for a smooth, spreadable finish that perfectly complements the tender cake layers. Classic swoops and swirls give it that signature appearance.
With twelve generous servings, this dessert shines at birthday parties, holidays, or any occasion calling for something truly special. The frosting doubles beautifully if you prefer extra-thick layers.
The movie Matilda always made that chocolate cake look absolutely impossible to resist, and honestly, it became a bit of an obsession. I remember attempting my first version during a rainy weekend, kitchen filled with the most incredible chocolate aroma, my roommate wandering in every ten minutes asking if it was ready yet. That first cake wasn't pretty, but one bite confirmed this was something special. Now it's my go-to for birthdays, celebrations, and sometimes just because Tuesday needs chocolate.
Last summer my niece turned eight and requested 'the Matilda cake' for her party. I watched her eyes widen as I pulled the layers from the oven, that moment when you know the house smells like chocolate heaven. Her friends gathered around the kitchen island as I frosted it, all of them practically vibrating with anticipation. The birthday girl declared it better than any bakery cake she'd ever had, which might be my proudest kitchen moment yet.
Ingredients
- All-purpose flour: Forms the structure, and I always spoon and level it rather than scooping directly to avoid packing it down
- Unsweetened cocoa powder: Dutch-processed gives a deeper, darker color and more mellow chocolate flavor
- Baking powder and baking soda: Both are essential here, working together to give the cake its impressive rise
- Boiling water: This seems counterintuitive but it blooms the cocoa powder and creates an exceptionally tender crumb
- Unsalted butter: Room temperature butter is non-negotiable for silky, lump-free frosting that spreads like a dream
Instructions
- Preheat and prepare the pans:
- Heat your oven to 175°C (350°F) and grease two 23 cm round cake pans thoroughly, then line the bottoms with parchment paper for absolutely foolproof removal.
- Whisk together the dry ingredients:
- In a large bowl, combine the flour, sugar, cocoa powder, baking powder, baking soda, and salt, whisking until everything is evenly distributed and no lumps remain.
- Add the wet ingredients:
- Pour in the eggs, milk, oil, and vanilla extract, beating on medium speed until the mixture is smooth and well-combined, about two minutes.
- Stir in the boiling water:
- Slowly mix in the boiling water, being careful as you incorporate it, and don't worry that the batter becomes quite thin, this is exactly what creates the moist texture.
- Bake the cake layers:
- Divide the thin batter evenly between your prepared pans and bake for 30 to 35 minutes, until a toothpick inserted into the center comes out completely clean.
- Cool the cakes completely:
- Let the layers cool in their pans for 10 minutes before turning them out onto wire racks, and I know the wait is hard but they must be entirely cool before frosting.
- Make the chocolate frosting:
- Beat the softened butter until creamy, sift in the cocoa powder and mix well, then gradually add powdered sugar alternating with milk until you achieve a smooth, spreadable consistency.
- Add the final touches:
- Mix in the vanilla extract and pinch of salt, then spread frosting between the layers, over the top, and around the sides, creating those signature swoops with your offset spatula.
 Save to Pinterest
 This cake has become my shorthand for showing people I care. When my best friend got her dream job, I showed up at her door with a Matilda cake instead of flowers. We ate it standing in her kitchen at midnight with milk, celebrating like we were kids again. Some recipes feed you, but this one somehow manages to feel like a celebration all on its own.
Making It Ahead
I've learned through trial and error that these layers freeze beautifully, wrapped tightly in plastic and then foil. Sometimes I bake and freeze the layers days ahead, then frost the day I need them, which completely eliminates that last-minute frosting stress. The thawed cakes are every bit as moist as freshly baked ones, maybe even more so.
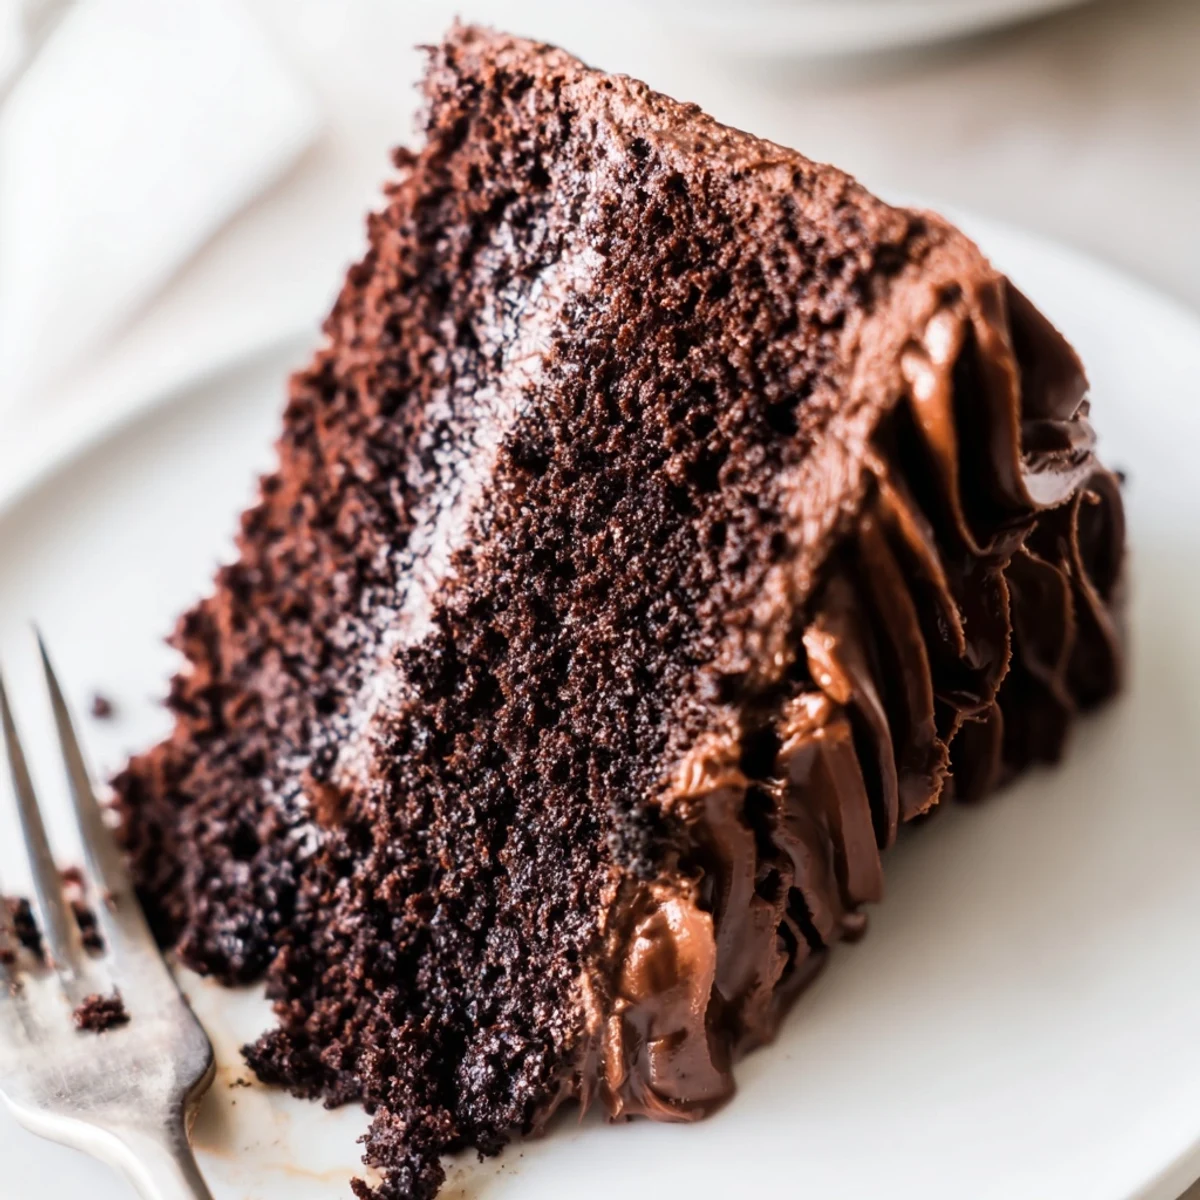
Getting That Matilda Look
The movie cake has those dramatic swoops and swirls that make it instantly recognizable. Use room temperature frosting and an offset spatula held at a slight angle, creating waves in the frosting rather than trying to make it perfectly smooth. Imperfection here is actually the goal, and I find it oddly freeing compared to trying to achieve flawless bakery-perfect sides.
Serving Suggestions
This is one of those rare cakes that actually benefits from sitting at room temperature for about an hour after being refrigerated, letting the frosting soften slightly. The contrast between the fudgy frosting and tender crumb is at its best when not too cold. I've served this at everything from formal birthday dinners to casual game nights, and it disappears every single time.
- A light dusting of cocoa powder on top mimics the movie version beautifully
- Chilled cake is easier to slice cleanly if you need neat servings
- This pairs incredibly well with espresso or cold milk, something about the classic combo
 Save to Pinterest
 There's something about this cake that makes people feel like kids again, even before they take that first bite. I hope it brings a little movie magic to your kitchen too.
Common Questions
- → Why add boiling water to chocolate cake batter?
-
Boiling water blooms the cocoa powder, releasing its natural oils and intensifying the chocolate flavor. It also creates a thinner batter that bakes into an exceptionally moist, tender crumb rather than a dense texture.
- → How do I know when the cake layers are done?
-
Insert a wooden toothpick into the center of each layer. If it comes out clean or with just a few moist crumbs, the layers are finished baking. The edges should also pull slightly away from the pan sides.
- → Can I make this chocolate cake in advance?
-
Absolutely. The unfrosted layers can be wrapped tightly and stored at room temperature for one day or frozen for up to three months. The frosted cake keeps well in the refrigerator for 4-5 days when covered.
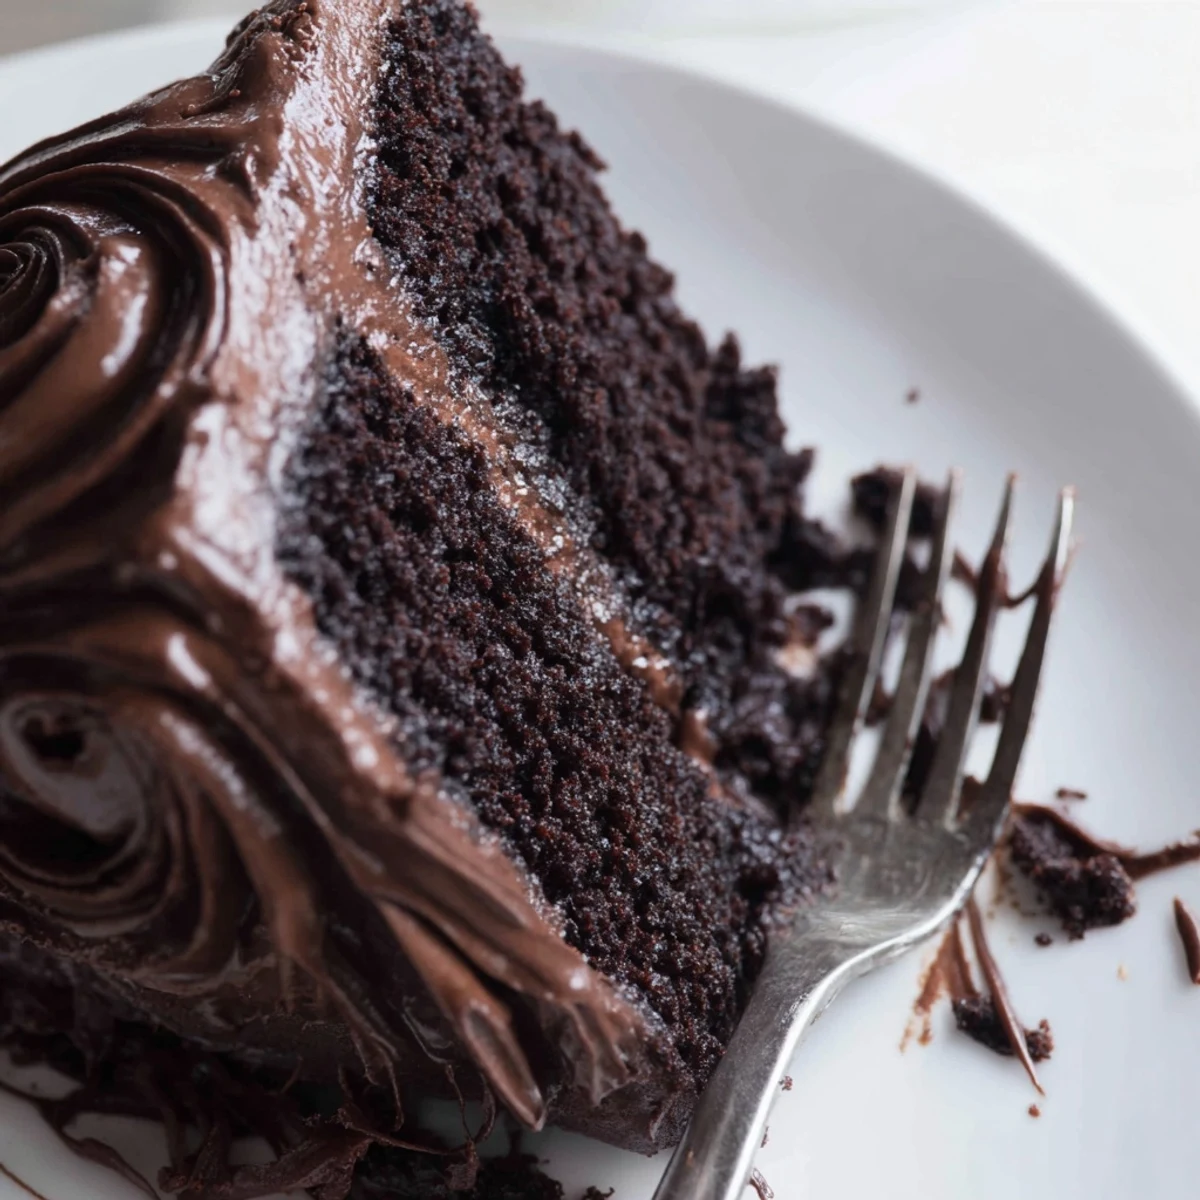
- → What's the best way to achieve smooth frosting swirls?
-
Use an offset spatula held at a slight angle. Apply gentle pressure while rotating the cake stand in smooth, continuous motions. The swoops create that classic look while artfully concealing any imperfections.
- → Can I substitute coffee for the boiling water?
-
Yes, hot brewed coffee enhances the chocolate depth even further. The coffee flavor doesn't shine through—it simply intensifies the cocoa notes for a more sophisticated chocolate experience.
- → How should I store leftover slices?
-
Keep slices in an airtight container in the refrigerator for optimal freshness. Bring to room temperature for 20-30 minutes before serving for the best texture and flavor experience.