 Save to Pinterest
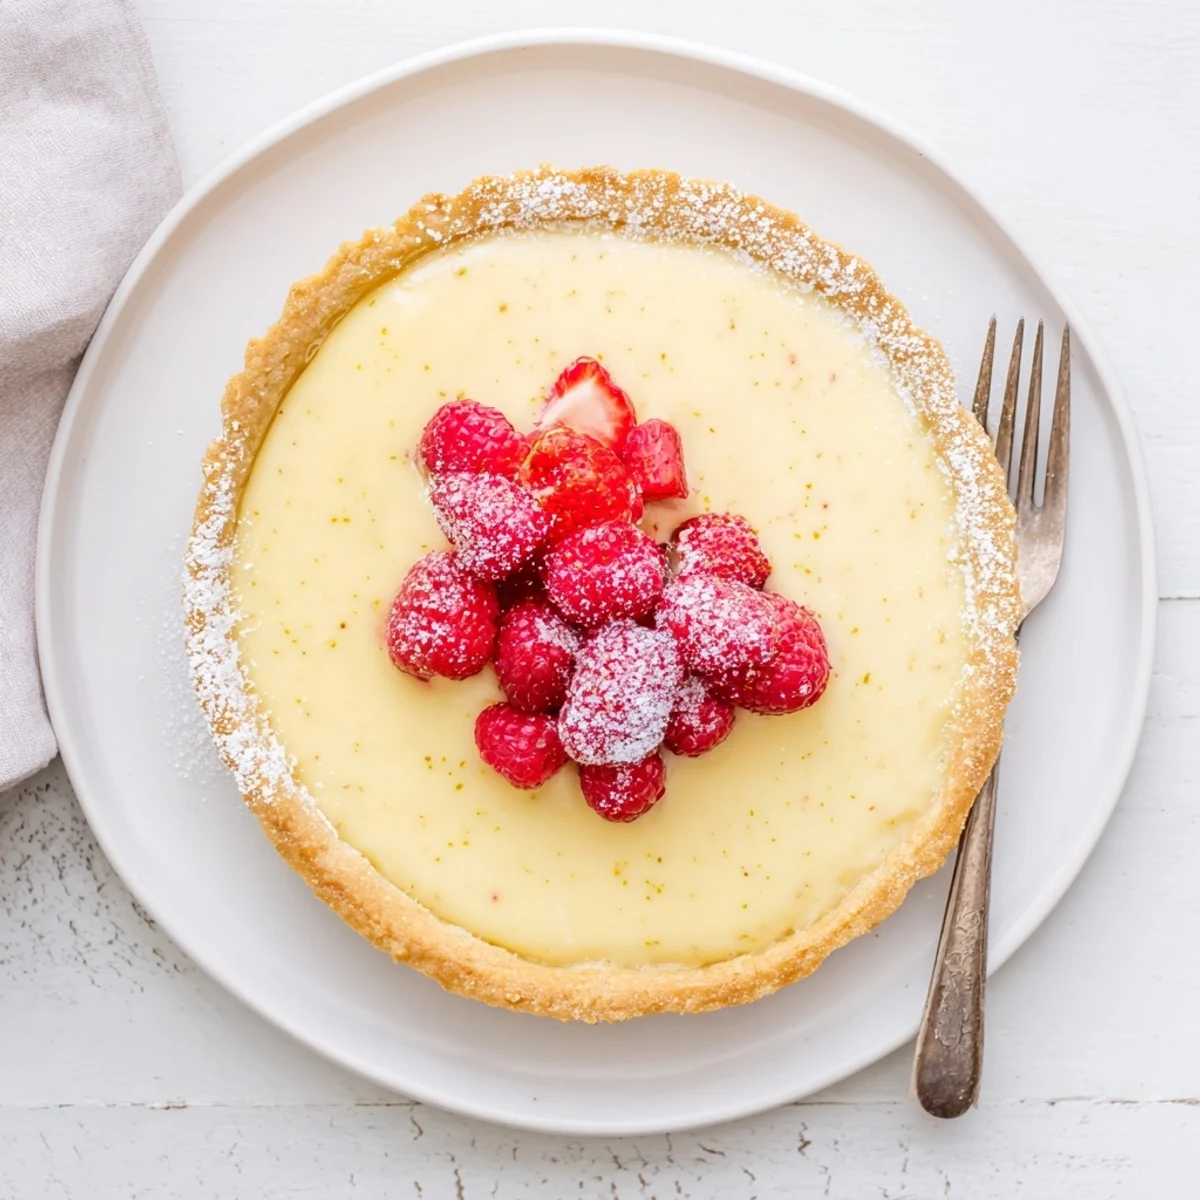
 This elegant tart combines a crisp, buttery crust with a luscious vanilla bean pastry cream filling. The creamy center is infused with real vanilla bean seeds for intense fragrance and flavor, while the golden shell provides the perfect crunchy contrast. Ready in about 2 hours including chilling time, this French-inspired dessert serves eight beautifully.
The first time I made vanilla bean pastry cream, I stood over the stove stirring obsessively, convinced it would curdle at any moment. When it finally thickened into that silky smooth custard, I actually did a little happy dance right there in my kitchen. Now this tart has become my go-to for dinner parties because it makes people feel special without requiring restaurant-level technique.
Last summer I made this for my mothers birthday and she took one bite, closed her eyes, and told me it tasted exactly like the pastries we had in Paris years ago. That moment of seeing someone transport back to a cherished memory through food is exactly why I love baking. Now every time I scrape those tiny vanilla seeds into hot milk, I think of how the simplest ingredients create the most lasting impressions.
Ingredients
- 1 1/4 cups all-purpose flour: The foundation of your crust, bread flour creates too much chew so stick with all-purpose for that tender shortbread texture
- 1/2 cup cold unsalted butter: Keep this ice cold because tiny butter pockets create flaky layers as they melt in the oven
- 1/4 cup powdered sugar: Dissolves more easily than granulated sugar, giving you that fine, even crumb
- 1 large egg yolk: Adds richness and helps bind the dough together without making it tough
- 2 cups whole milk: Whole milk creates the most luscious cream, though you can get away with 2% if needed
- 1 vanilla bean: Those thousands of tiny black seeds pack more flavor than any extract ever could
- 4 large egg yolks: The magic thickener that transforms hot milk into silky custard
- 1/2 cup granulated sugar: Sweetens the cream just enough to let the vanilla shine without overpowering
- 1/4 cup cornstarch: This is what gives pastry cream its signature silky, stable texture
- 2 tbsp unsalted butter: Stirred in at the end, this creates that glossy finish and adds another layer of richness
Instructions
- Make the dough:
- Pulse flour, powdered sugar, and salt in your food processor until combined, then add cold butter and pulse until the mixture looks like coarse crumbs with some pea-sized butter pieces remaining. Add the egg yolk, pulse again, then drizzle in ice water one tablespoon at a time just until the dough starts to clump together.
- Chill the dough:
- Gather the dough into a disk, wrap it tightly in plastic, and refrigerate for at least one hour because cold dough bakes into a flakier, more tender crust.
- Blind bake the crust:
- Roll out the chilled dough and press it into your tart pan, prick the bottom all over with a fork, line with parchment paper, and fill with pie weights before baking at 350°F for 15 minutes. Remove the weights and paper, then bake for another 8 to 10 minutes until the bottom is golden and fully cooked through.
- Infuse the milk:
- Heat the whole milk with the scraped vanilla bean seeds and the empty pod until it just starts to simmer, then remove it from the heat and let it steep for 10 minutes to really extract all that floral vanilla flavor.
- Make the base:
- Whisk egg yolks, sugar, cornstarch, and salt until the mixture turns pale yellow and falls from the whisk in a thick ribbon.
- Temper and thicken:
- Slowly pour about a cup of the hot milk into the egg mixture while whisking constantly, then pour everything back into the saucepan and cook over medium heat, whisking nonstop, until the mixture bubbles and thickens dramatically.
- Finish the cream:
- Remove from heat, fish out the vanilla pod, and stir in the softened butter until it melts and the cream becomes impossibly smooth and glossy.
- Chill completely:
- Press plastic wrap directly onto the surface of the cream to prevent a skin from forming, then refrigerate for at least one hour until its cold and set.
- Assemble and serve:
- Spread the chilled pastry cream into your cooled tart shell, smooth the top with an offset spatula, and top with fresh berries or a dusting of powdered sugar right before serving.
 Save to Pinterest
 I once skipped the chilling step for the dough because I was in a rush and ended up with a tough, shrunken crust that was practically glued to my pan. Lesson learned: some shortcuts just are not worth it, especially when the proper technique is this simple. Now I embrace the waiting time as an excuse to clean up or pour myself a cup of tea.
Working With Vanilla Beans
Splitting a vanilla bean for the first time feels like opening a tiny treasure chest. Use the tip of a sharp knife to slice lengthwise down the center, then use the dull side to scrape out all those fragrant seeds. I save the spent pod in a jar of sugar to make vanilla sugar later because those pods still have so much flavor to give.
Getting That Perfect Tart Crust
The most common mistake is overworking the dough, which develops gluten and makes the crust tough instead of tender and short. Pulse just until things come together, and if the dough feels warm while you are rolling it, pop it back in the fridge for a few minutes. A chilled, relaxed dough is the secret to a crust that bakes up crisp and holds its shape beautifully.
Making It Your Own
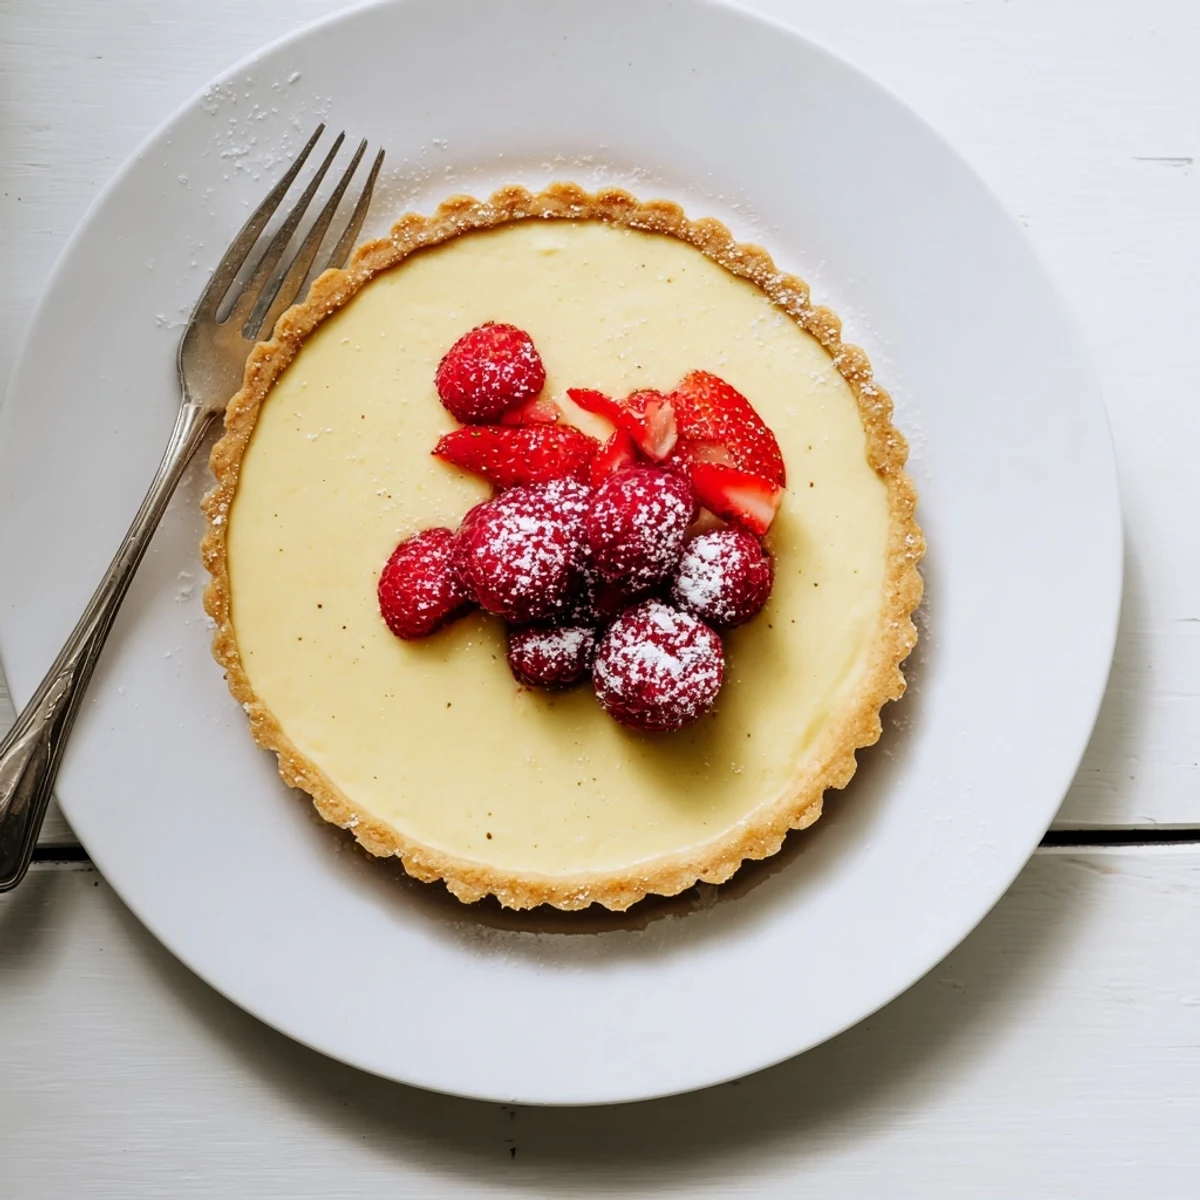
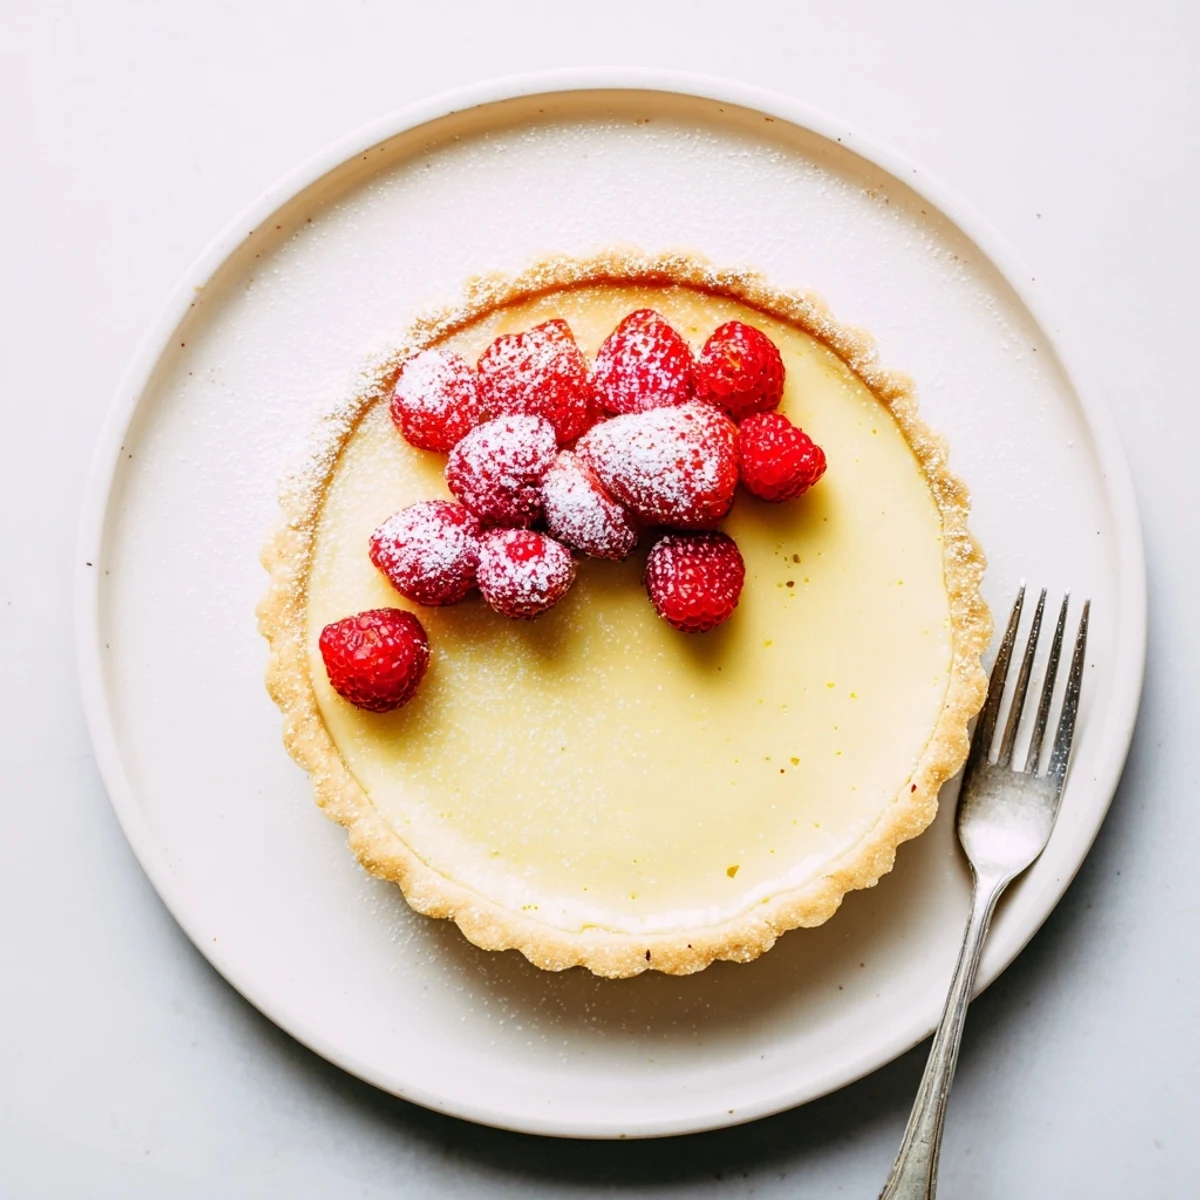
This tart is incredibly forgiving and adapts beautifully to whatever is in season. In spring I will pile on sliced strawberries, summer calls for fresh peaches or raspberries, and autumn is perfect for figs or poached pears. The vanilla cream is such a perfect canvas that almost any fruit will sing against it.
- Brush the cooled crust with melted white chocolate before filling to add a subtle extra layer of flavor
- Pastry cream keeps beautifully in the refrigerator for two days if you want to prep ahead
- Room temperature tart actually has the best texture and flavor, so let it sit out for 30 minutes before serving
 Save to Pinterest
 There is something deeply satisfying about serving a tart that looks like it came from a fancy bakery but tastes like it was made with love in your own kitchen. Every bite of that creamy vanilla filling against the crisp, buttery crust feels like a small celebration worth savoring.
Common Questions
- → How far in advance can I make this tart?
-
The pastry cream can be prepared up to 2 days ahead and stored covered in the refrigerator. The tart crust can be baked a day before. For best results, assemble the tart within 4-6 hours of serving to maintain the crisp texture of the crust.
- → Can I use vanilla extract instead of vanilla bean?
-
Yes, you can substitute 2 teaspoons of pure vanilla extract or vanilla bean paste for the vanilla bean. While vanilla bean seeds provide those signature black specks and intense aroma, vanilla paste or extract will still deliver excellent flavor to the pastry cream.
- → Why does my pastry cream turn lumpy?
-
Lumps typically form when the hot milk is added too quickly to the egg mixture, or when the mixture is cooked at too high a temperature. Always whisk constantly while pouring the milk, and cook over medium heat while stirring continuously until thickened and smooth.
- → How do I prevent the crust from getting soggy?
-
Ensure the crust is completely cooled before filling. For extra protection, brush the cooled crust with a thin layer of melted white chocolate and let it set before adding the pastry cream. This creates a barrier that helps maintain crispness.
- → What fruits work best as toppings?
-
Fresh berries like raspberries, strawberries, or blueberries complement vanilla beautifully. Sliced stone fruits such as peaches or plums work wonderfully in summer. Arrange fruit just before serving to prevent the juices from affecting the creamy filling.
- → Can I freeze this tart?
-
The unfilled baked crust can be frozen for up to 3 months. However, the assembled tart does not freeze well due to the cream filling. It's best enjoyed fresh within 1-2 days of assembly, stored covered in the refrigerator.