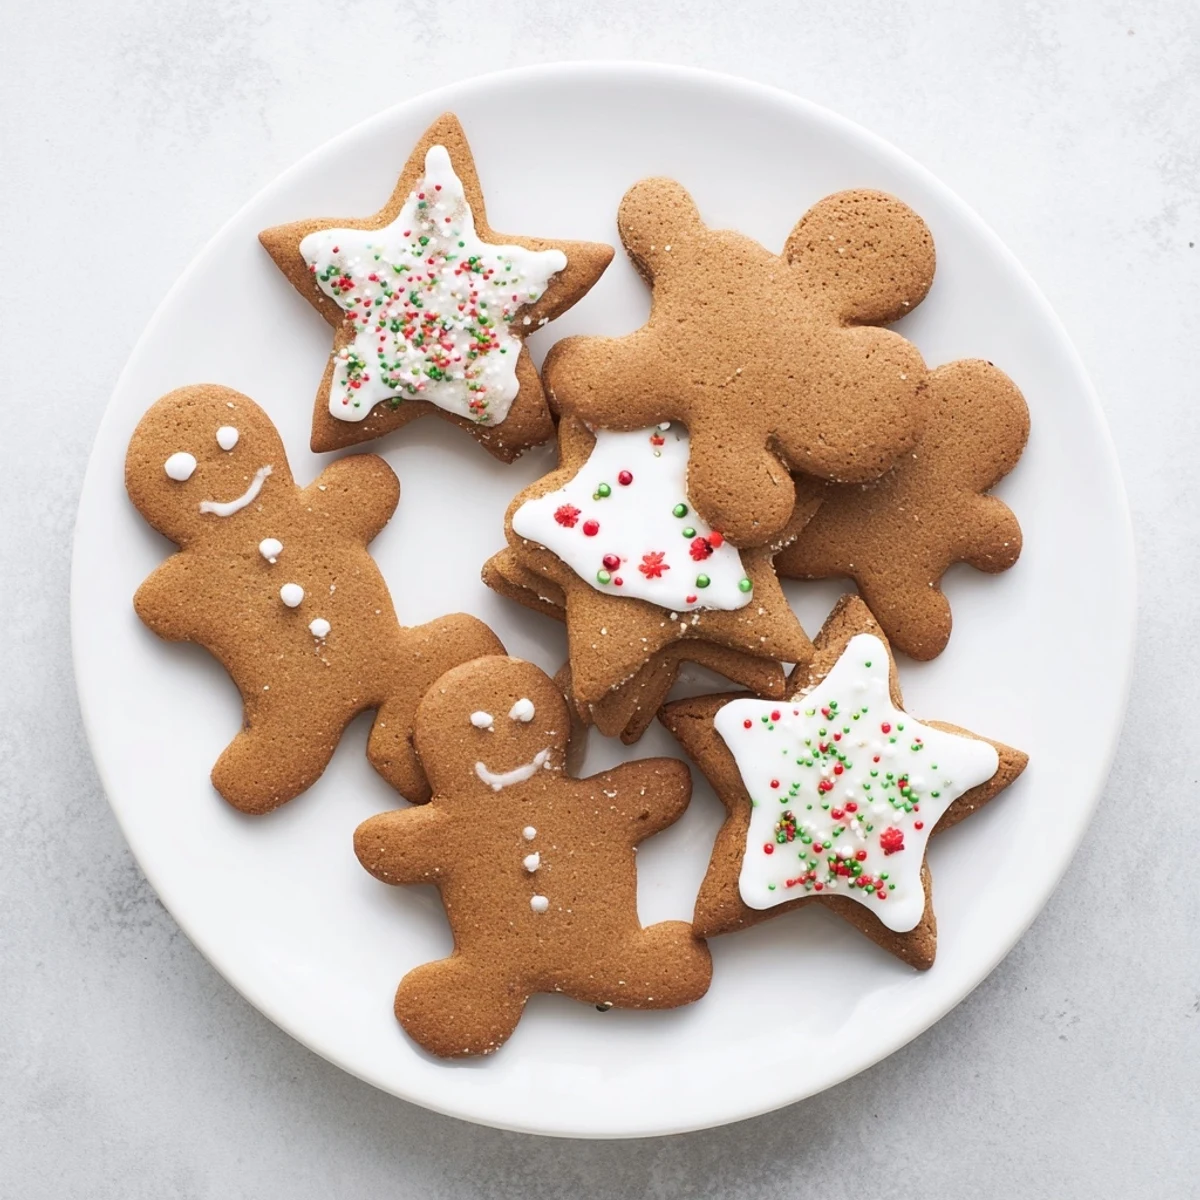
 Save to Pinterest
 Create perfectly spiced holiday treats with these classic gingerbread cookies. The dough rolls out smoothly and maintains its shape during baking, making them ideal for intricate cookie cutters and detailed icing work. The warming blend of ginger, cinnamon, cloves, and nutmeg delivers that authentic festive flavor everyone loves.
Chilling the dough is essential for clean edges and easy handling. These cookies bake in just 8-10 minutes, developing firm edges while staying tender inside. They're perfect for holiday decorating sessions, gift-giving, or enjoying with a cup of hot cocoa.
The recipe yields approximately three dozen cookies, making it ideal for parties, cookie exchanges, or stocking the freezer. Unbaked shapes freeze beautifully—simply add a couple extra minutes when baking from frozen.
The first time I attempted gingerbread cookies, I made the rookie mistake of skipping the chilling step entirely. What started as cute gingerbread men expanded into blobby, unrecognizable figures that my family gently called abstract art. Now I know that patience isnt just optional with these cookiesits the secret to those crisp, defined edges that make decorating actually enjoyable.
Last year, my niece and I spent an entire afternoon cutting out shapes and decorating them with way too much royal icing. Her gingerbread men ended up with eyebrows and mustaches while mine somehow developed punk-rock spiked hair. Those messy, happy cookies tasted better than any perfectly decorated batch Ive ever made.
Ingredients
- 3 cups all-purpose flour: The structure that holds everything together; measure by weight if you can for consistency
- 3/4 teaspoon baking soda and 1/4 teaspoon baking powder: Just enough lift to keep cookies tender without making them cakey
- 1 tablespoon ground ginger: The backbone of that classic gingerbread warmth; dont be tempted to reduce it
- 1 tablespoon ground cinnamon: Sweet-spice balance that mellows the gingery kick
- 1/2 teaspoon cloves and 1/2 teaspoon nutmeg: The deep, aromatic notes that make these taste like holidays
- 1/2 teaspoon salt: Wakes up all those warm spices and prevents the cookies from tasting flat
- 3/4 cup unsalted butter, softened: Room temperature is non-negotiable; cold butter creates a stubborn dough
- 3/4 cup packed dark brown sugar: The molasses in dark brown sugar adds extra depth that light sugar misses
- 1 large egg: Room temperature eggs incorporate better and prevent the dough from separating
- 1/2 cup unsulphured molasses: The soul of gingerbread; blackstrap molasses will make these bitter, so stick to unsulphured
- 2 teaspoons vanilla extract: Pure vanilla makes a difference here; fake extract cant hide in this simple dough
Instructions
- Whisk the dry ingredients:
- In a medium bowl, combine flour, baking soda, baking powder, ginger, cinnamon, cloves, nutmeg, and salt until evenly distributed. This step ensures every cookie has the same spiced flavor.
- Cream the butter and sugar:
- Beat the softened butter and dark brown sugar for 2-3 minutes until light and fluffy. Youll notice the mixture pale in color and feel silky against the beaters.
- Add the wet ingredients:
- Mix in the egg, molasses, and vanilla extract, scraping down the bowl to incorporate everything evenly. The mixture will look glossy and deeply caramel-colored.
- Combine the dough:
- Gradually add the dry ingredients to the wet mixture, mixing just until the flour disappears. Overworking now means tough cookies later, so stop as soon as it comes together.
- Chill the dough:
- Divide dough in half, flatten into disks, wrap tightly, and refrigerate for at least 1 hour. This relaxes the gluten and firms the butter, which is what keeps your shapes sharp.
- Preheat and prepare:
- Heat your oven to 350°F and line baking sheets with parchment paper. The parchment prevents sticking and makes cleanup infinitely easier.
- Roll and cut:
- On a floured surface, roll dough to 1/4-inch thickness and cut shapes. Transfer to prepared sheets, leaving 1 inch between cookies.
- Bake to perfection:
- Bake for 8-10 minutes until cookies are firm and edges are just set. They will continue cooking on the hot sheet, so pull them before they look fully done.
- Cool completely:
- Let cookies rest on the baking sheet for 2 minutes, then move to a wire rack. Warm cookies will melt your icing right off, so patience pays off here.
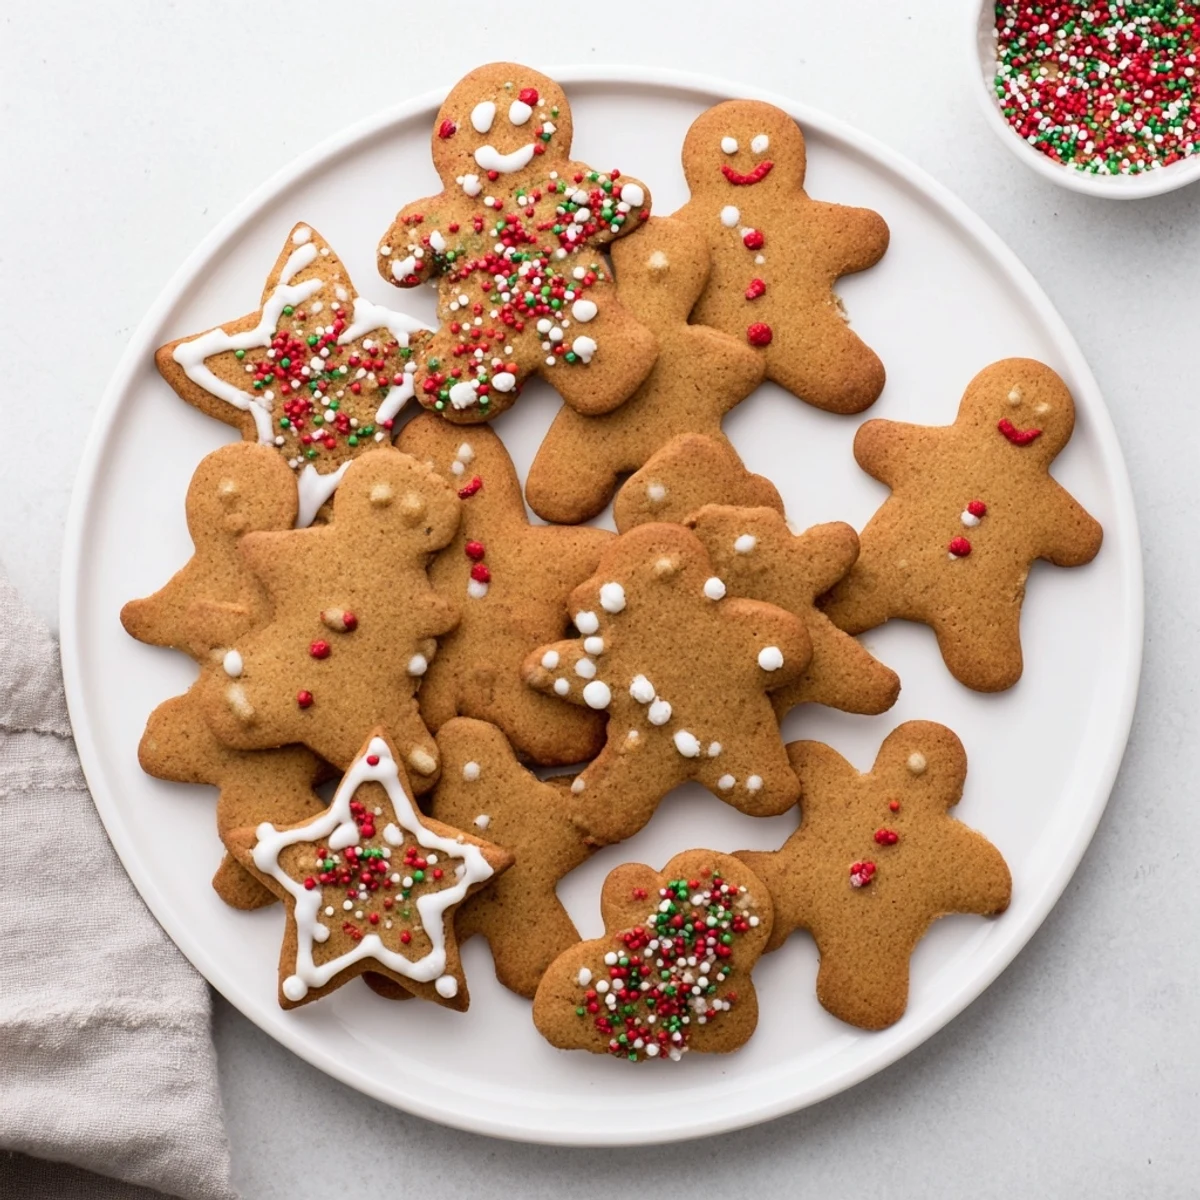 Save to Pinterest
 My grandmother kept a tin of these on her counter throughout December, and somehow they always tasted better on day three. The spices would mellow and settle into each other, creating a depth that fresh cookies couldnt quite match. Now I make a double batch just to ensure some survive long enough to reach that perfect stage.
Getting The Perfect Roll
After years of fighting with dough that stuck to everything, I discovered the parchment paper method. Sandwich your dough between two sheets and roll from the center outwardthe paper does all the hard work and you barely need any flour. Your cookies stay tender because you havent worked extra flour into the dough.
Decoration That Actually Sticks
Royal icing can be finicky, but Ive learned that flooding consistency should flow off a spoon in a steady stream and disappear back into itself within 10 seconds. Too thick and it leaves peaks; too thin and it runs right off the edge. Let each layer dry completely before adding details, or watch your carefully piped dots blur into nothing.
Making Them Ahead
The beauty of these cookies is how well they play with schedules. You can make the dough three days ahead and keep it wrapped tight in the refrigerator, or freeze uncut disks for up to a month. Already baked cookies freeze beautifully layered between parchment sheets in airtight containers.
- Thaw frozen dough overnight in the refrigerator before rolling
- Refresh baked cookies in a 300°F oven for 3-4 minutes to restore that fresh-baked snap
- Store iced cookies in single layers once the decoration has completely hardened
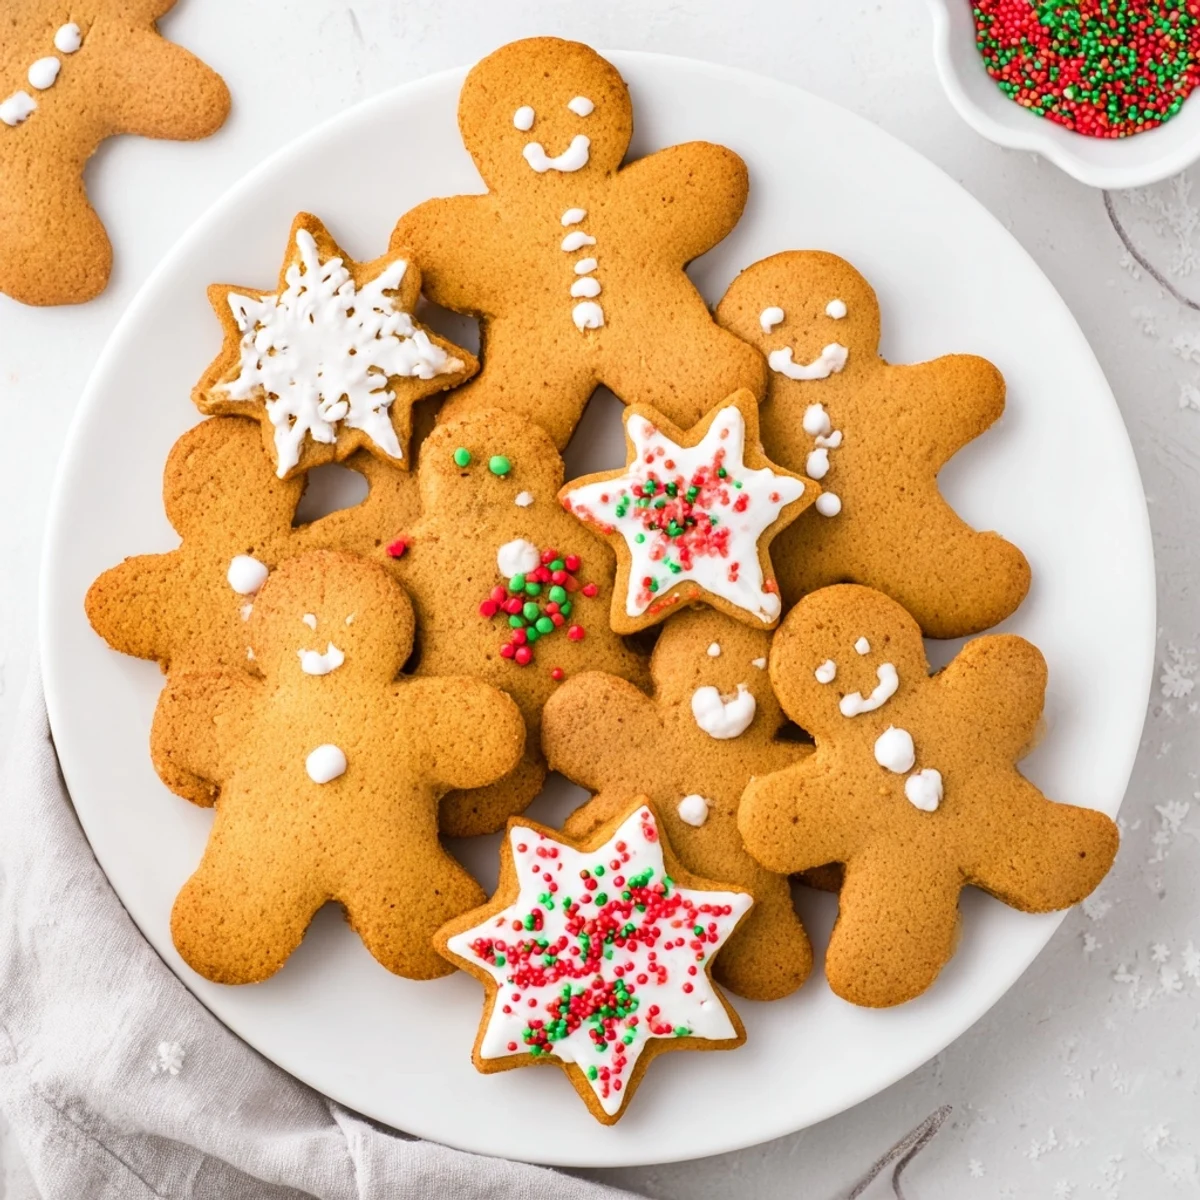 Save to Pinterest
 Theres something impossibly satisfying about a cookie that looks exactly like the cutter you used. May your kitchen smell like ginger and your shapes stay sharp.
Common Questions
- → How long should I chill the dough?
-
Chill the dough for at least 1 hour until firm. This prevents spreading during baking and makes rolling much easier. You can refrigerate the dough up to 3 days in advance.
- → Can I freeze the dough or cut-out shapes?
-
Yes! Unbaked cut-out shapes freeze exceptionally well. Place them on a baking sheet to freeze individually, then transfer to a freezer bag. Bake from frozen, adding 1-2 minutes to the baking time.
- → Why are my cookies spreading too much?
-
This usually happens when the dough isn't chilled enough or the butter is too soft. Ensure you chill the dough for the full hour and work quickly when rolling. If your kitchen is warm, return the dough to the refrigerator periodically.
- → How do I know when they're done baking?
-
The cookies are ready when edges are set and firm but centers still appear slightly soft. They'll continue cooking on the hot baking sheet during those 2 minutes of cooling time. Overbaking leads to hard cookies.
- → Can I make these gluten-free?
-
Absolutely. Substitute the all-purpose flour with a 1:1 gluten-free flour blend designed for baking. The texture remains excellent, though you may need to adjust chilling time slightly as gluten-free doughs can be softer.
- → What's the best way to decorate these?
-
Let cookies cool completely before decorating. Royal icing works best for detailed designs—it hardens nicely for stacking and storing. For simpler decorating, colored sugar, sprinkles, or melted white chocolate are great options that don't require piping skills.