 Save to Pinterest
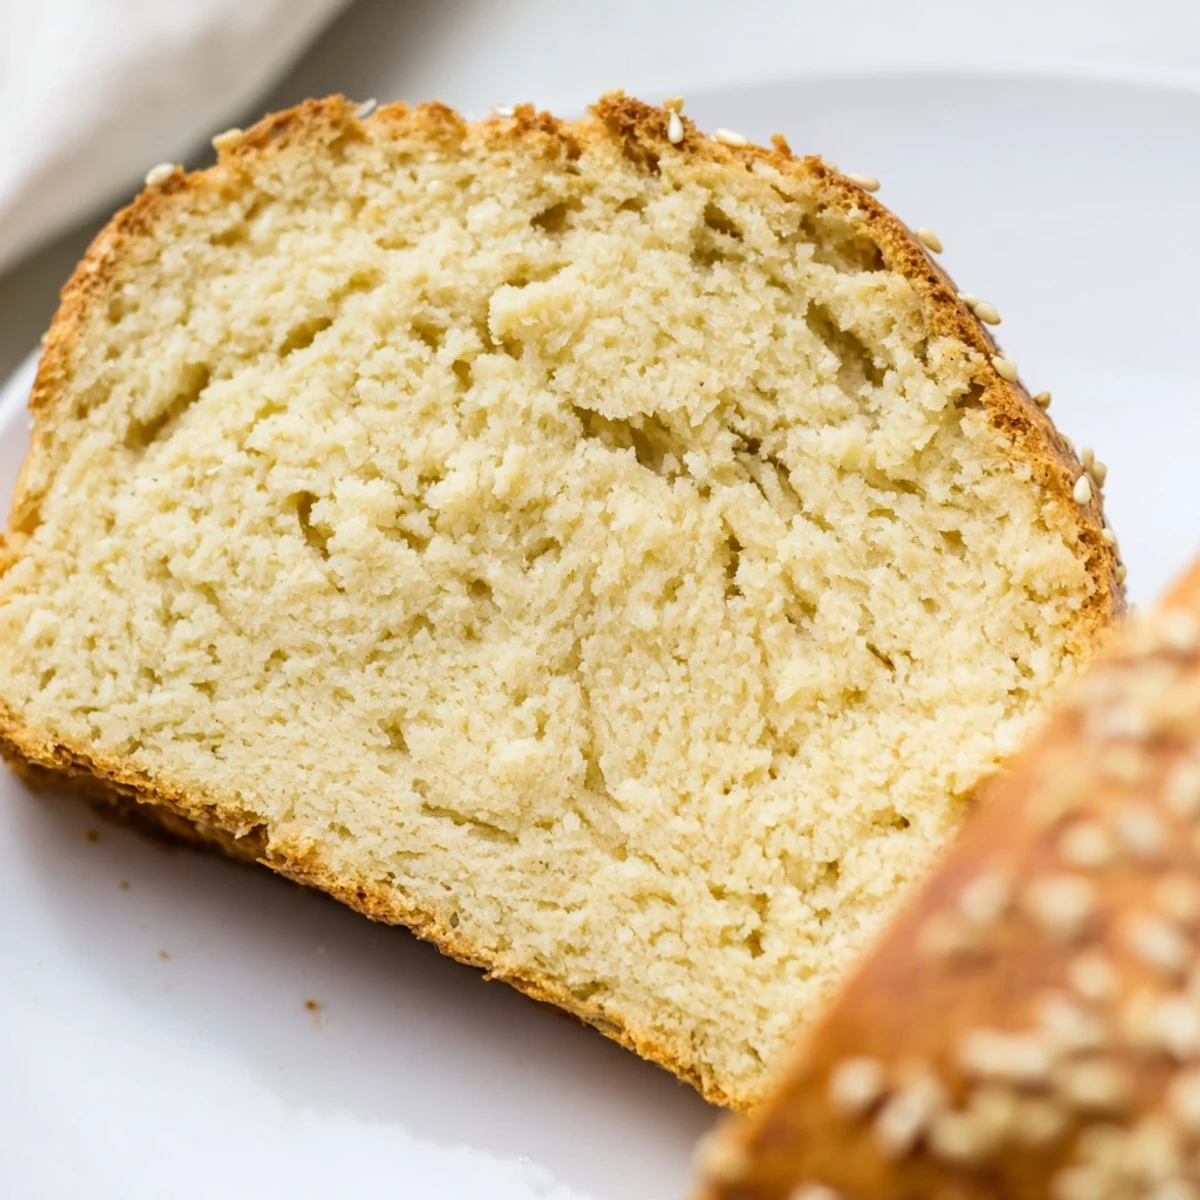
 Create a wonderfully light and airy bread alternative using just Greek yogurt, eggs, and coconut flour. This low-carb loaf delivers the satisfying texture of traditional bread with minimal carbohydrates, making it ideal for keto diets or anyone seeking grain-free options. The tangy yogurt adds moisture and tenderness while keeping each slice at only 1 gram of carbs.
Simply mix wet and dry ingredients, let the coconut flour hydrate for a few minutes, then bake until golden. The result is a versatile loaf that toasts beautifully and holds up well for sandwiches. Add sesame or poppy seeds for extra crunch, or incorporate herbs and cheese for savory variations.
I stood in my kitchen staring at a loaf pan, half-convinced this was going to be another failed low-carb experiment. The smell of coconut flour always makes me skeptical—it's so distinctively not wheat. But my daughter had been begging for bread she could actually eat, and I was tired of disappointing her with dry, crumbly attempts.
Last Sunday morning, I pulled this bread from the oven while my kids were still rubbing sleep from their eyes. The kitchen filled with that warm baking smell, and when I slid a golden slice onto my daughter's plate, she took a bite, eyes wide. She asked if I'd secretly bought real bread from the store—that's when I knew I'd finally cracked the code.
Ingredients
- Full-fat Greek yogurt: The higher fat content is crucial here—I've tried low-fat versions and they produce a denser, sadder bread that feels like eating a kitchen sponge.
- Coconut flour: This stuff is thirsty as heck, which is why letting the batter rest those few minutes is non-negotiable. It absorbs liquid like magic and gives the bread structure.
- Baking powder: Don't skip this or try to substitute—the lift it provides is what keeps this bread from being a flat, eggy pancake.
- Eggs: Room temperature eggs blend better with the yogurt, creating that smooth batter that rises beautifully.
- Apple cider vinegar: Totally optional, but I've found it makes the difference between good bread and great bread.
Instructions
- Get your oven ready:
- Preheat to 180°C (350°F) and line that loaf pan with parchment paper—I learned the hard way that coconut bread loves to stick to everything.
- Whisk the wet stuff:
- Beat that yogurt and eggs until they're practically one smooth, creamy mixture. You want some air incorporated here.
- Mix the dry ingredients:
- Sift the coconut flour, baking powder, and salt together in a separate bowl. Trust me, sifting prevents those annoying dry flour pockets.
- Combine and wait:
- Pour dry into wet, mix until completely smooth, then walk away for 2-3 minutes. This is when the coconut flour does its thing.
- Add the secret ingredient:
- If you're using the vinegar, fold it in now. It activates with the baking powder for extra fluffiness.
- Bake to golden perfection:
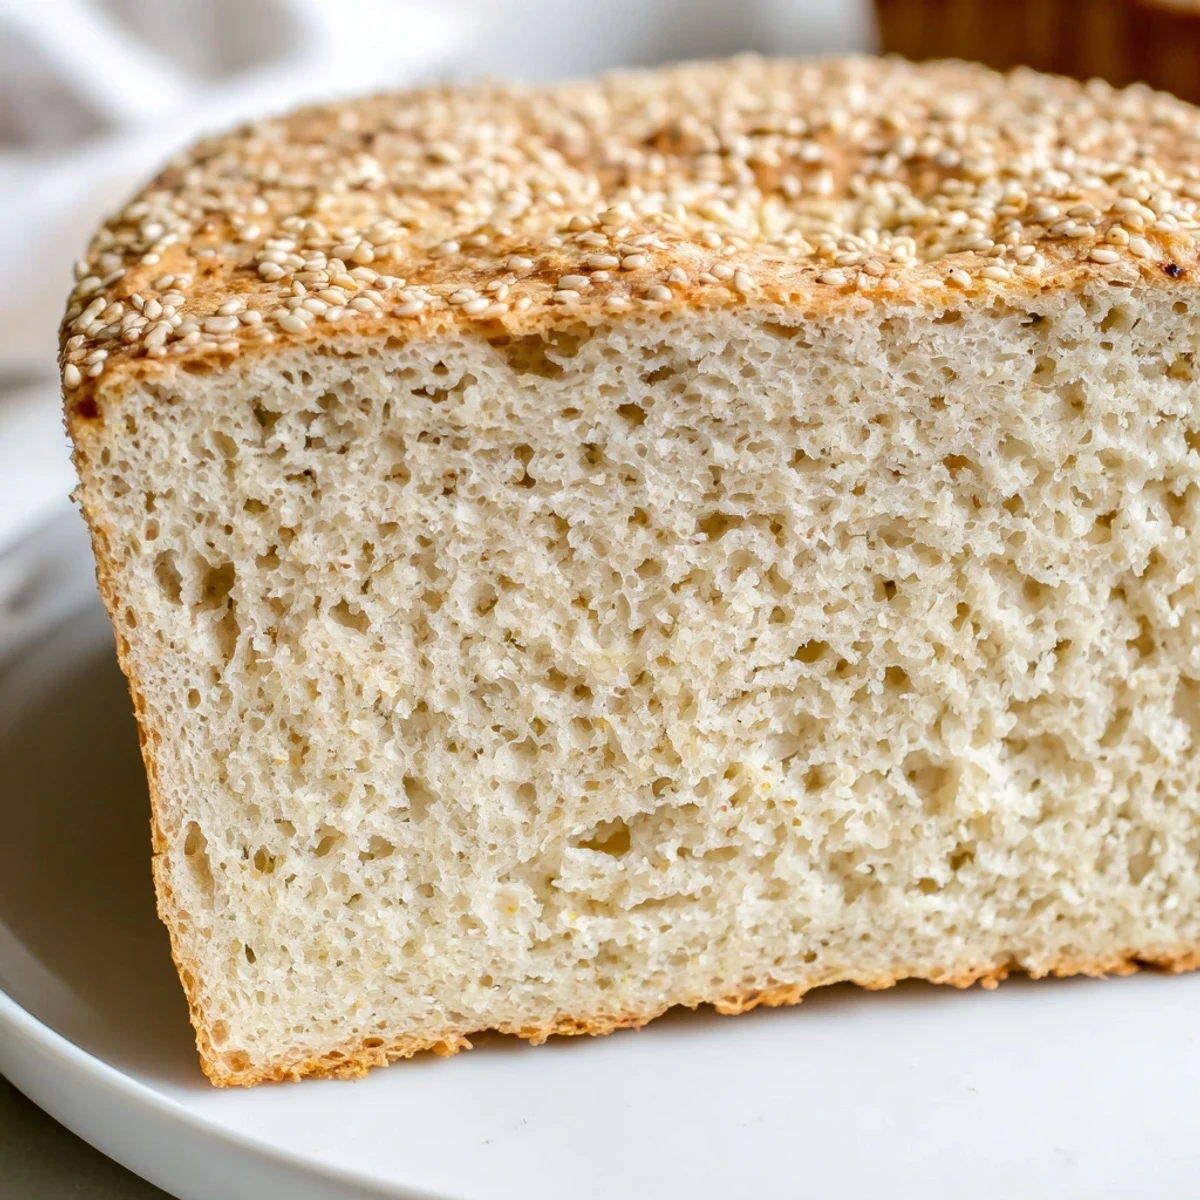
- Pour into your prepared pan, smooth the top, add seeds if you're feeling fancy. Bake 30-35 minutes until golden and a toothpick comes out clean.
 Save to Pinterest
 My mother-in-law visited last month and I served her this bread, toasted with butter. She's a traditional baker who's been making sourdough for decades, and she took three bites before asking for the recipe. That moment of validation—having someone who knows real bread actually enjoy this substitute—made all the experimental failures worth it.
Making It Dairy-Free
I've made this with coconut yogurt when my niece visited, and honestly, it works surprisingly well. The texture is slightly different—a bit more delicate—but still holds together beautifully for sandwiches. Just make sure whatever yogurt substitute you choose is unsweetened and thick.
Flavor Variations That Work
Sometimes I throw in shredded cheese and herbs for a savory version that's incredible with soup. Other times, I'll add cinnamon and a little sweetener for a breakfast treat. The base recipe is forgiving enough that it becomes a canvas for whatever you're craving.
Storage And Serving Suggestions
This bread keeps in the fridge for about a week, though it rarely lasts that long in my house. I slice the whole loaf immediately after cooling and store slices in the freezer—they toast straight from frozen in about 2 minutes. For the best texture, always toast it rather than eating it cold and soft.
- Freeze slices with parchment paper between them so they don't stick together
- A minute or two in the toaster transforms the texture completely
- Use it for sandwich-making—it holds up to fillings without falling apart
 Save to Pinterest
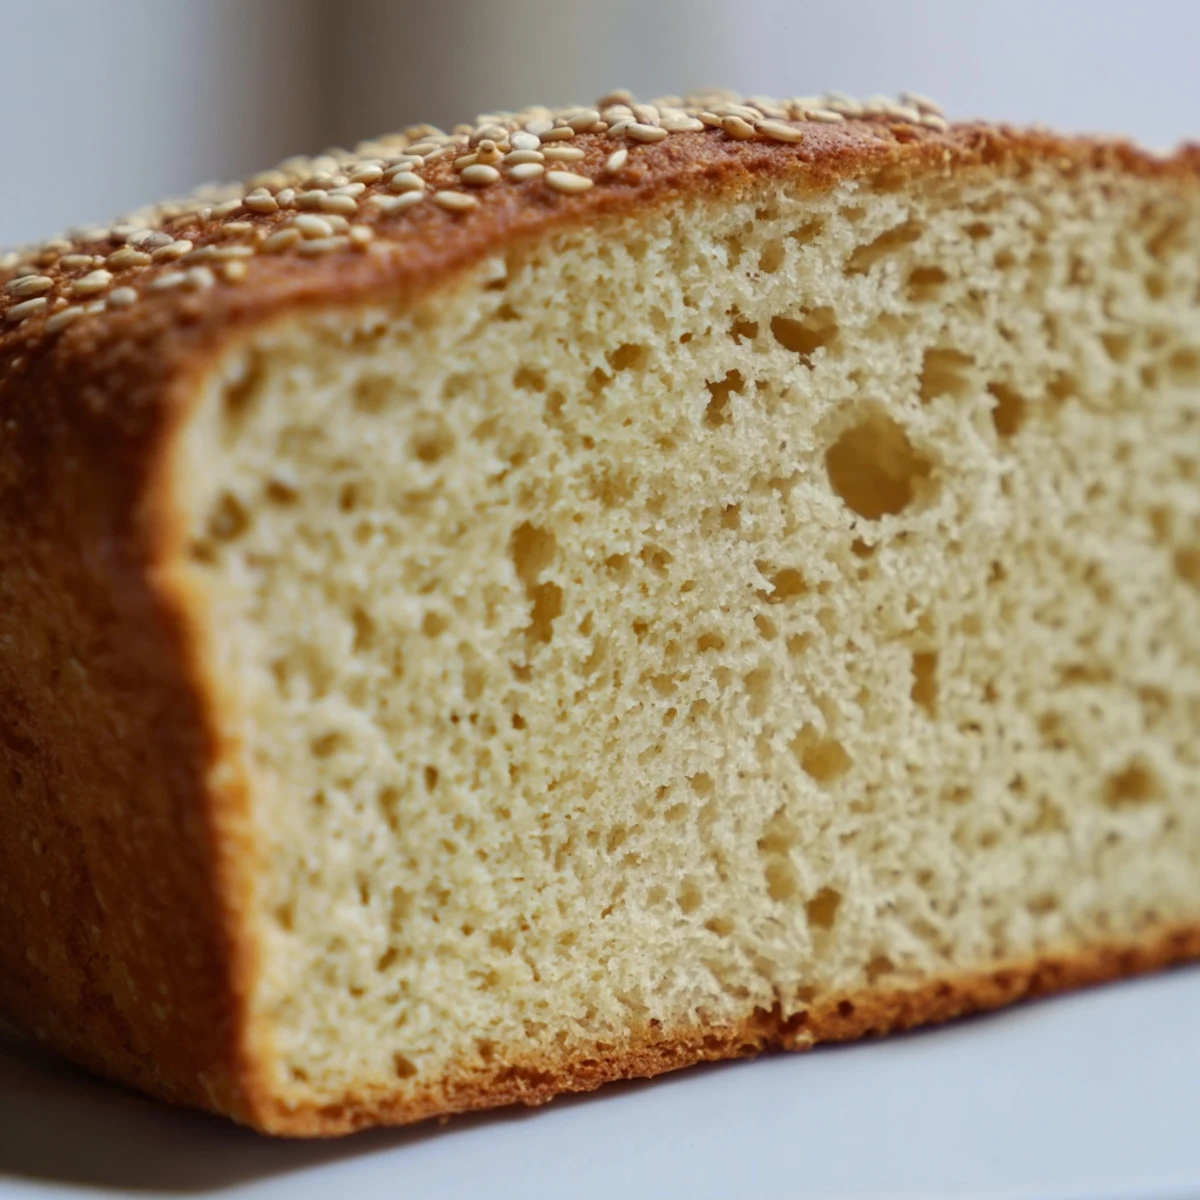
 There's something incredibly satisfying about pulling a loaf of bread from the oven, especially one that fits your dietary needs without sacrificing joy. This recipe has become a staple in my kitchen, and I hope it finds a permanent home in yours too.
Common Questions
- → Can I use regular flour instead of coconut flour?
-
Coconut flour is essential here as it absorbs significantly more liquid than grain flours. Substituting with almond flour, wheat flour, or others will completely alter the texture and yield a batter that's too wet or dry.
- → Why does my bread collapse after baking?
-
This usually happens when the bread hasn't cooled completely before slicing. The structure firms up as it cools. Also ensure you let the batter rest for 2-3 minutes so the coconut flour can fully absorb moisture before baking.
- → Can I make this dairy-free?
-
Yes, substitute the Greek yogurt with unsweetened coconut yogurt. The texture remains similar, though the bread may be slightly less fluffy. Ensure the coconut yogurt is thick and not too watery.
- → How should I store this bread?
-
Store in an airtight container in the refrigerator for up to 5 days. It also freezes well—slice before freezing and thaw individual slices as needed. Toasting refrigerated slices restores freshness.
- → Why is apple cider vinegar optional?
-
The vinegar reacts with baking powder to create extra lift, resulting in a lighter texture. However, the bread rises well without it, so it's purely optional depending on your preference for fluffiness.
- → Can I double this recipe?
-
Yes, simply double all ingredients and use a larger loaf pan (9x5 inch). The baking time may increase by 5-10 minutes. Check for doneness with a toothpick.